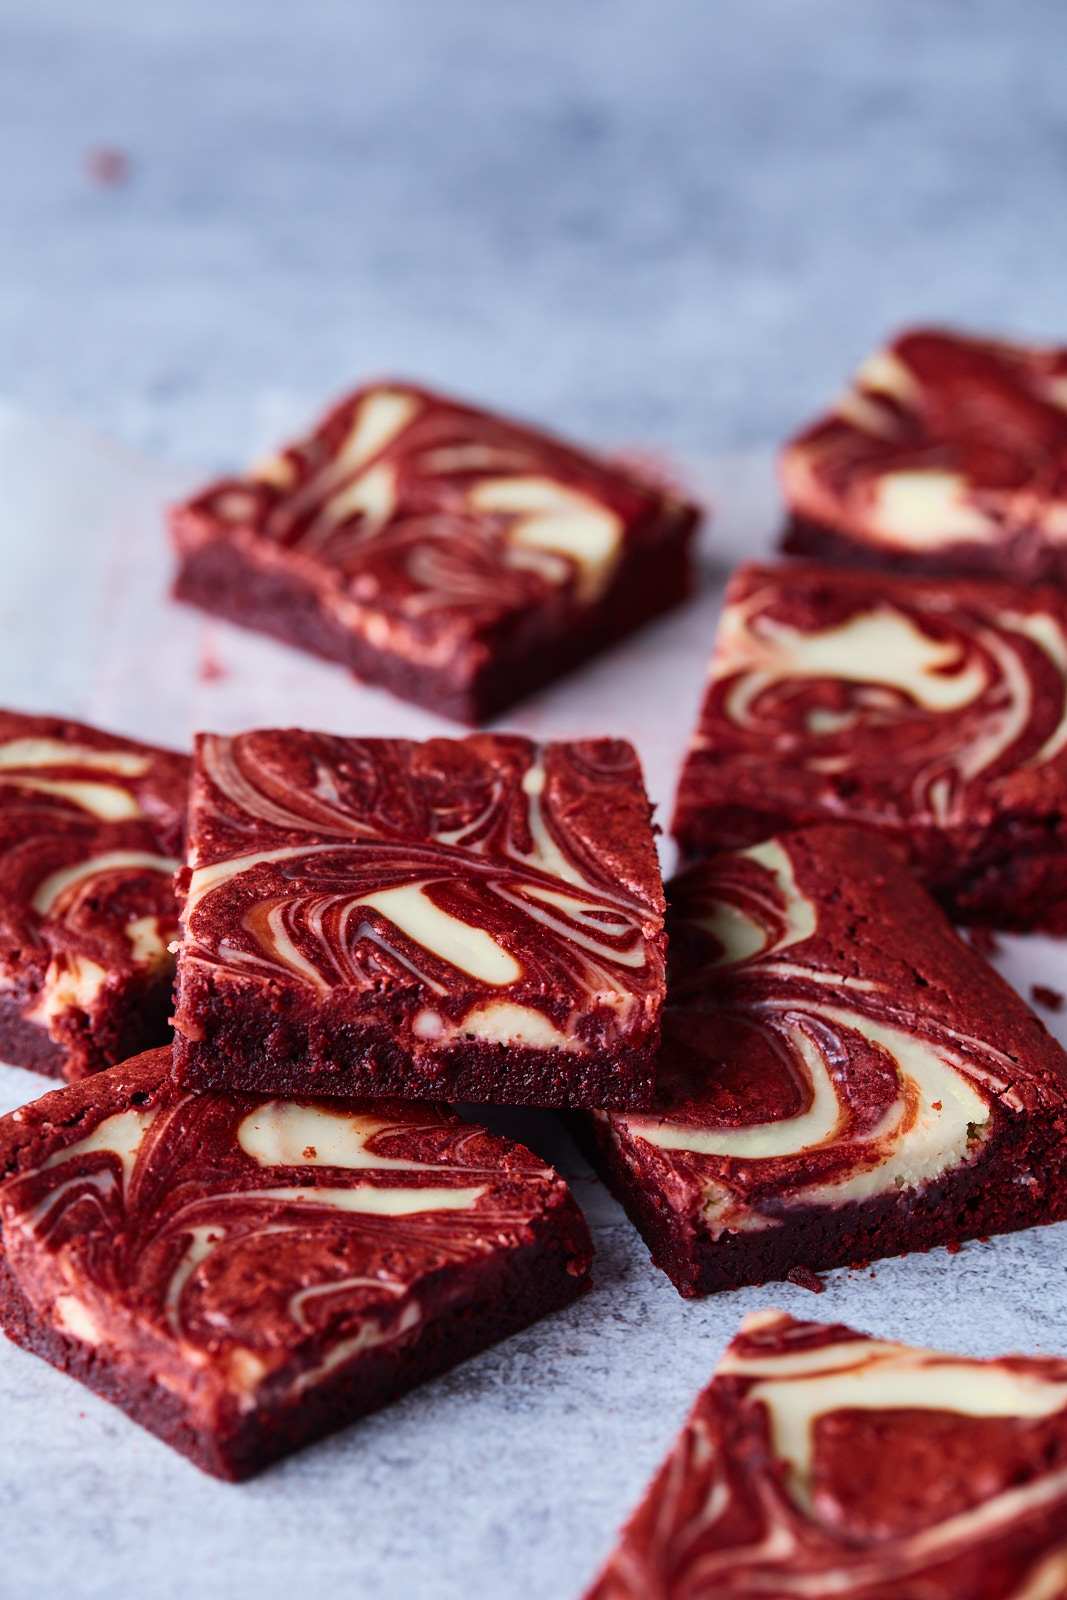
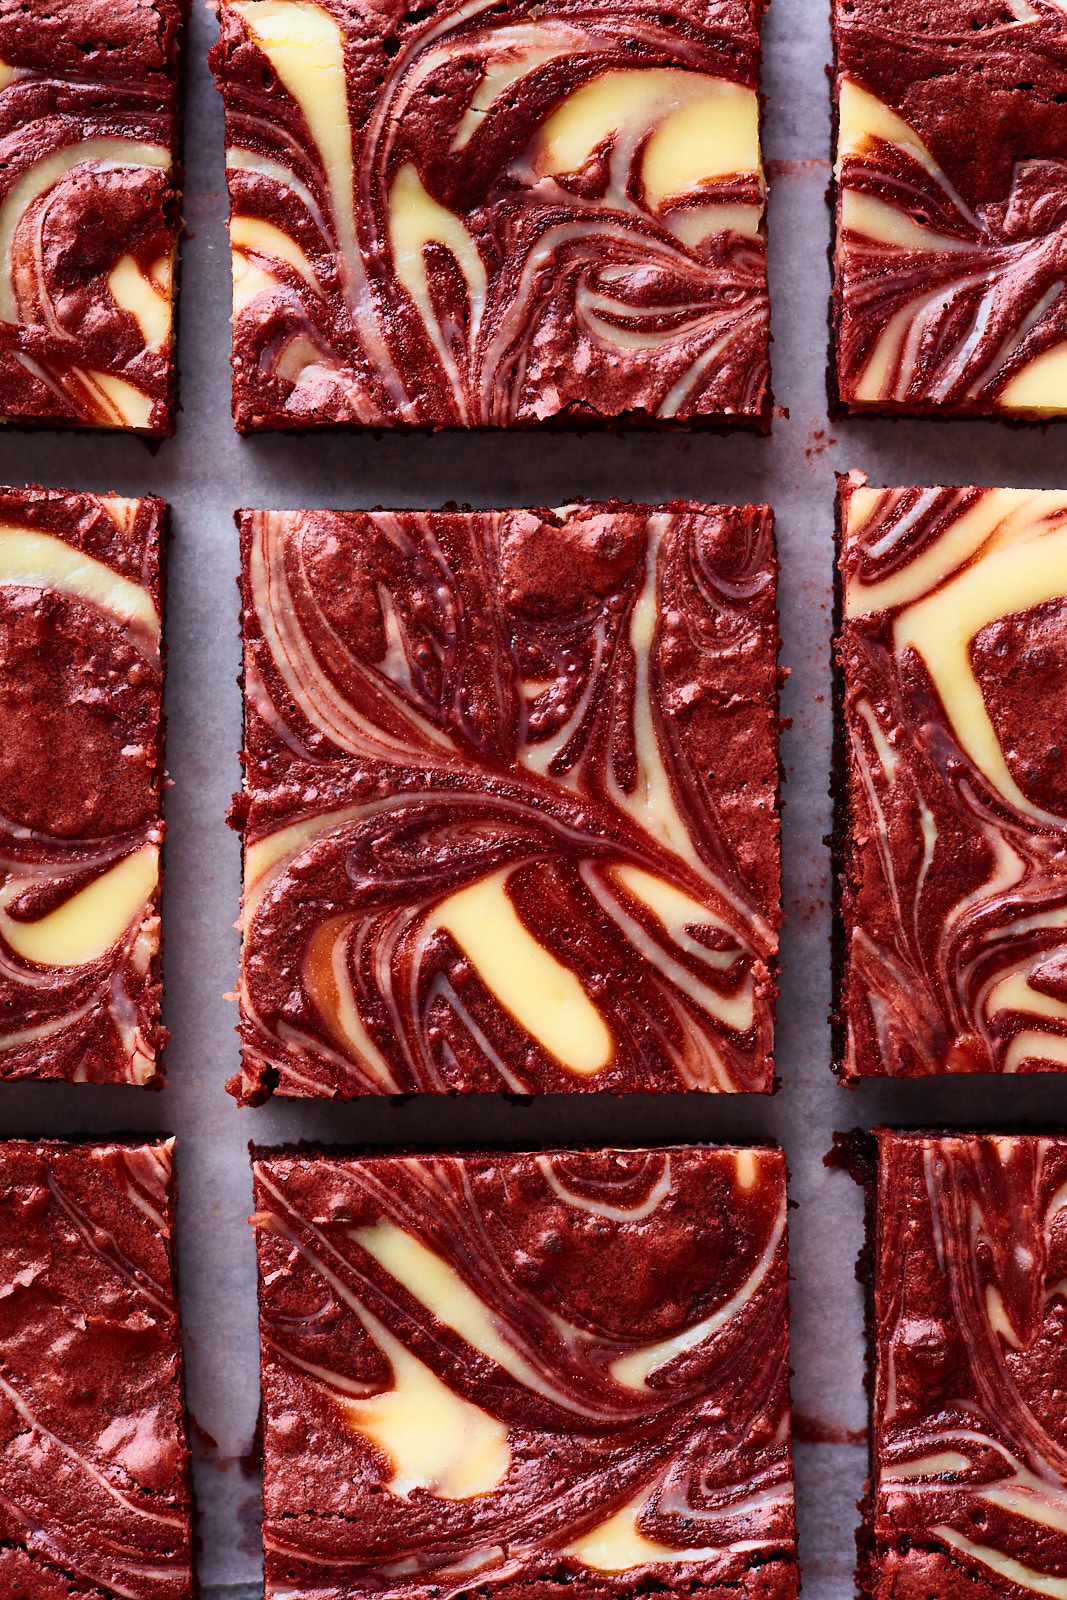
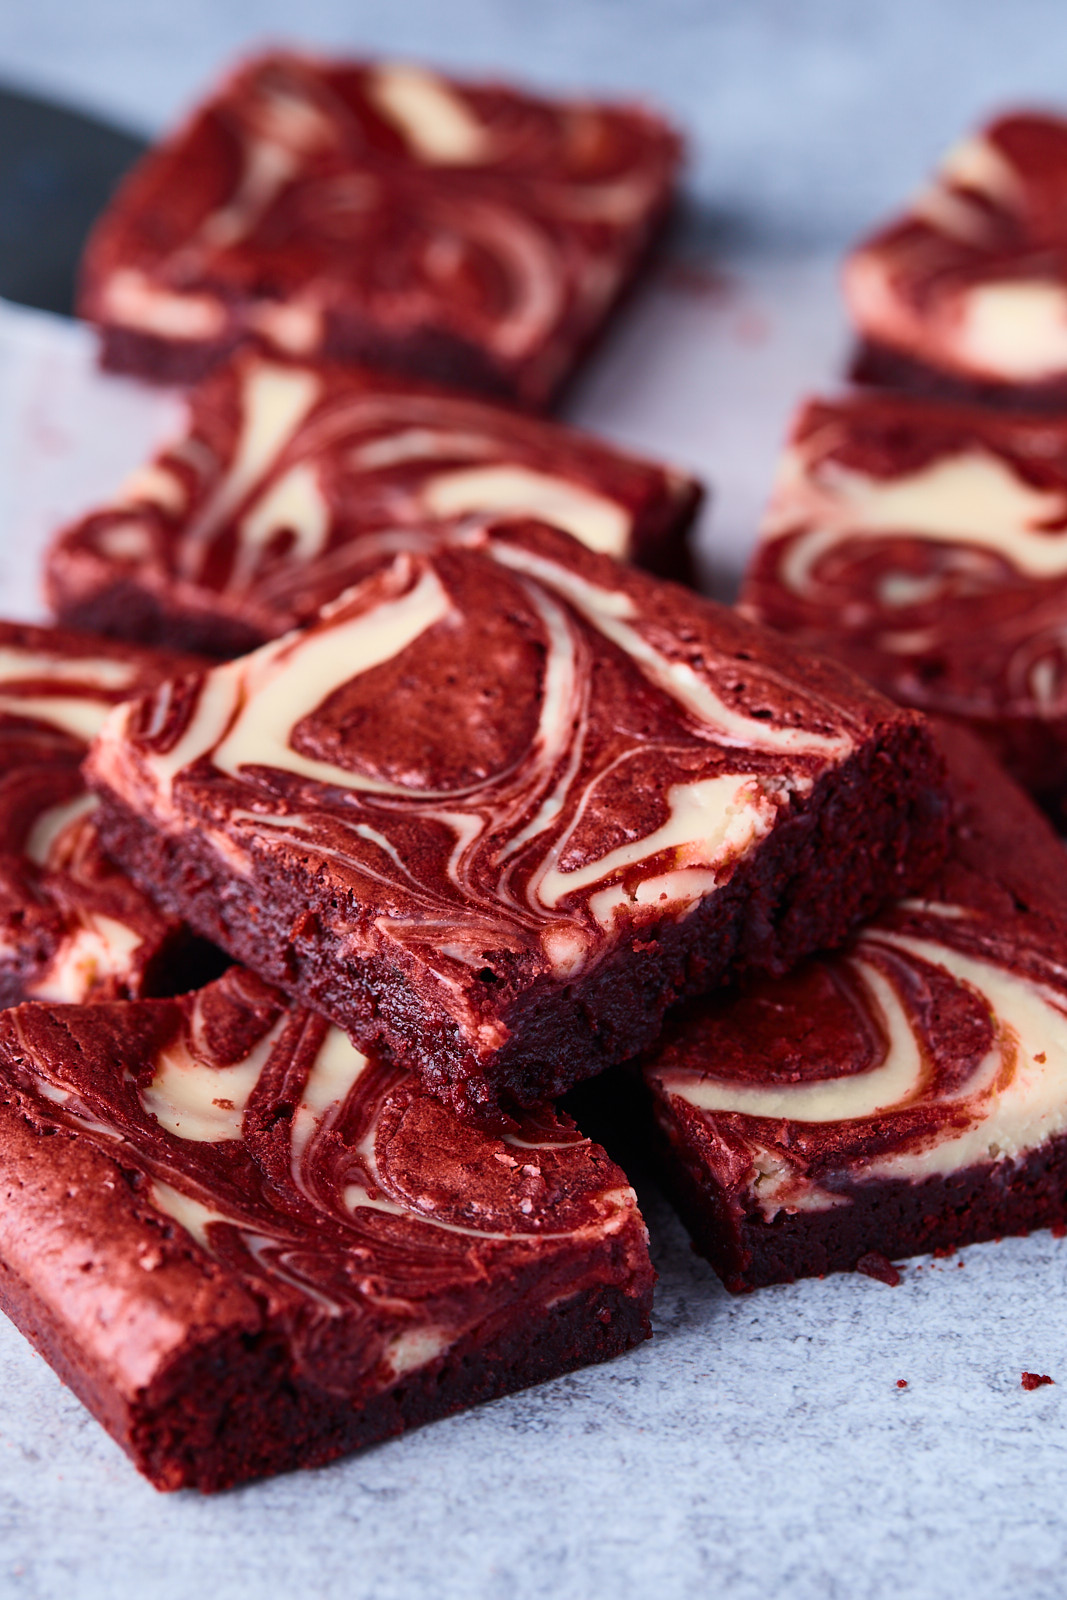
Red Velvet Cheesecake Brownies
 Red Velvet, brownies
Updated. Originally posted 2nd February 2021
These red velvet brownies are rich, decadent, and perfectly fudgy, topped with tangy cream cheese swirls!! PERFECT for all you chocolate lovers out there and also perfect anytime you’re craving red velvet! It’s an easy recipe that you won’t be able to get enough of.
I don’t know what it is about red velvet but I’m always drawn to it. If there is red velvet cake or cupcakes on a dessert table I will always go for those over anything else. They are always so moist and decadent and always have the most delicious cream cheese frosting over them or in between their layers. No wonder I can never resist red velvet treats. I will eventually get some red velvet cupcakes and cake on here at some point but I took the easy route to start - red velvet brownies with tasty cream cheese swirls. These ones are made with both melted chocolate and cocoa powder so they are very chocolatey. I also used a natural red food colouring which I recommend if you can get your hands on some. If not feel free to use any regular food grade red food colouring you can get your hands on. Natural food colouring tends to be a bit more subdued - so the reds or pinks show up less electric or intense than most. That being said you can adjust how little or how much food colouring you want to add - you can check and add more as you add and mix it into your batter.
Red Velvet Brownie Ingredients:
- BUTTER: You will need unsalted butter for this recipe. It will be melted so no need to soften. You will need ½ cup or 1 stick
- CHOCOLATE: I typically use semi sweet chocolate or bittersweet chocolate but for a sweeter batter you can use milk chocolate instead.
- EGGS: You will need three large eggs for this recipe - room temperature. One for the cream cheese batter and 2 for brownie batter.
- FLOUR: I use all purpose flour for this recipe - I have not tested it with gluten free flour.
- COCOA POWDER: I use unsweetened cocoa powder - usually the baking kind for all my baking recipes.
- CREAM CHEESE: I use full fat cream cheese. Make sure to use softened but not warm cream cheese - which makes cream cheese softer, runnier, or even liquid because its fats melt, breaking down the structure.
- VANILLA: Pure vanilla extract is what I use for best flavor.
- RED FOOD COLORING: You will need red food colouring or food dye for this recipe. Use natural food dye but you may need to add more to get a more vibrant colour. Use a gel or liquid food dye - either works. I usually start with 1-2 teaspoons but sometimes up to 3 teaspoons depending on how vibrant you would like the red.
How to Make Red Velvet Cheesecake Brownies
- Prepare Pan: Preheat oven and prepare baking pan - grease and line
- Whisk Dry Ingredients: Whisk flour with baking powder and salt
- Prepare Cream Cheese Batter: Beat cream cheese, egg and vanilla til smooth
- Prepare Brownie Batter: Melt butter and chocolate then whisk in sugar followed by eggs, vanilla and red food dye. Fold dry ingredients into the wet ingredients. Scoop ½ cup of batter out and reserve - spread remaining batter into prepared pan.
- Make Swirls: Dollop spoonfuls of cream cheese batter over brownie batter then dollop spoonfuls of the reserved brownie batter over the cream cheese batter. Use a butter knife to swirl the batters gently together to create a marble effect.
- Bake: Transfer pan to preheated oven and bake 25 min or until done
- Cool & Chill: Remove from oven once done, allow to cool in pan over cooling rack until room temperature, chill for 1-2 hours

Tips For Making the Perfect Red Velvet Brownies
- Just like any other brownie recipe you don’t want to over bake them. Over baking tends to dry them out. Essentially you want your brownies to be puffed up a bit out of the oven, mostly set and edges golden, with a bit of a wobble in the middle - that will ensure these are nice and fudgey.
- Brownies are great make ahead desserts and get better and fudgier after having some time in the fridge. Allow your brownies to cool In pan or rack to room temperature then refrigerate for 1-2 hours, then slice and serve. If leaving in the fridge over night - wrap with foil and slice when ready to serve.
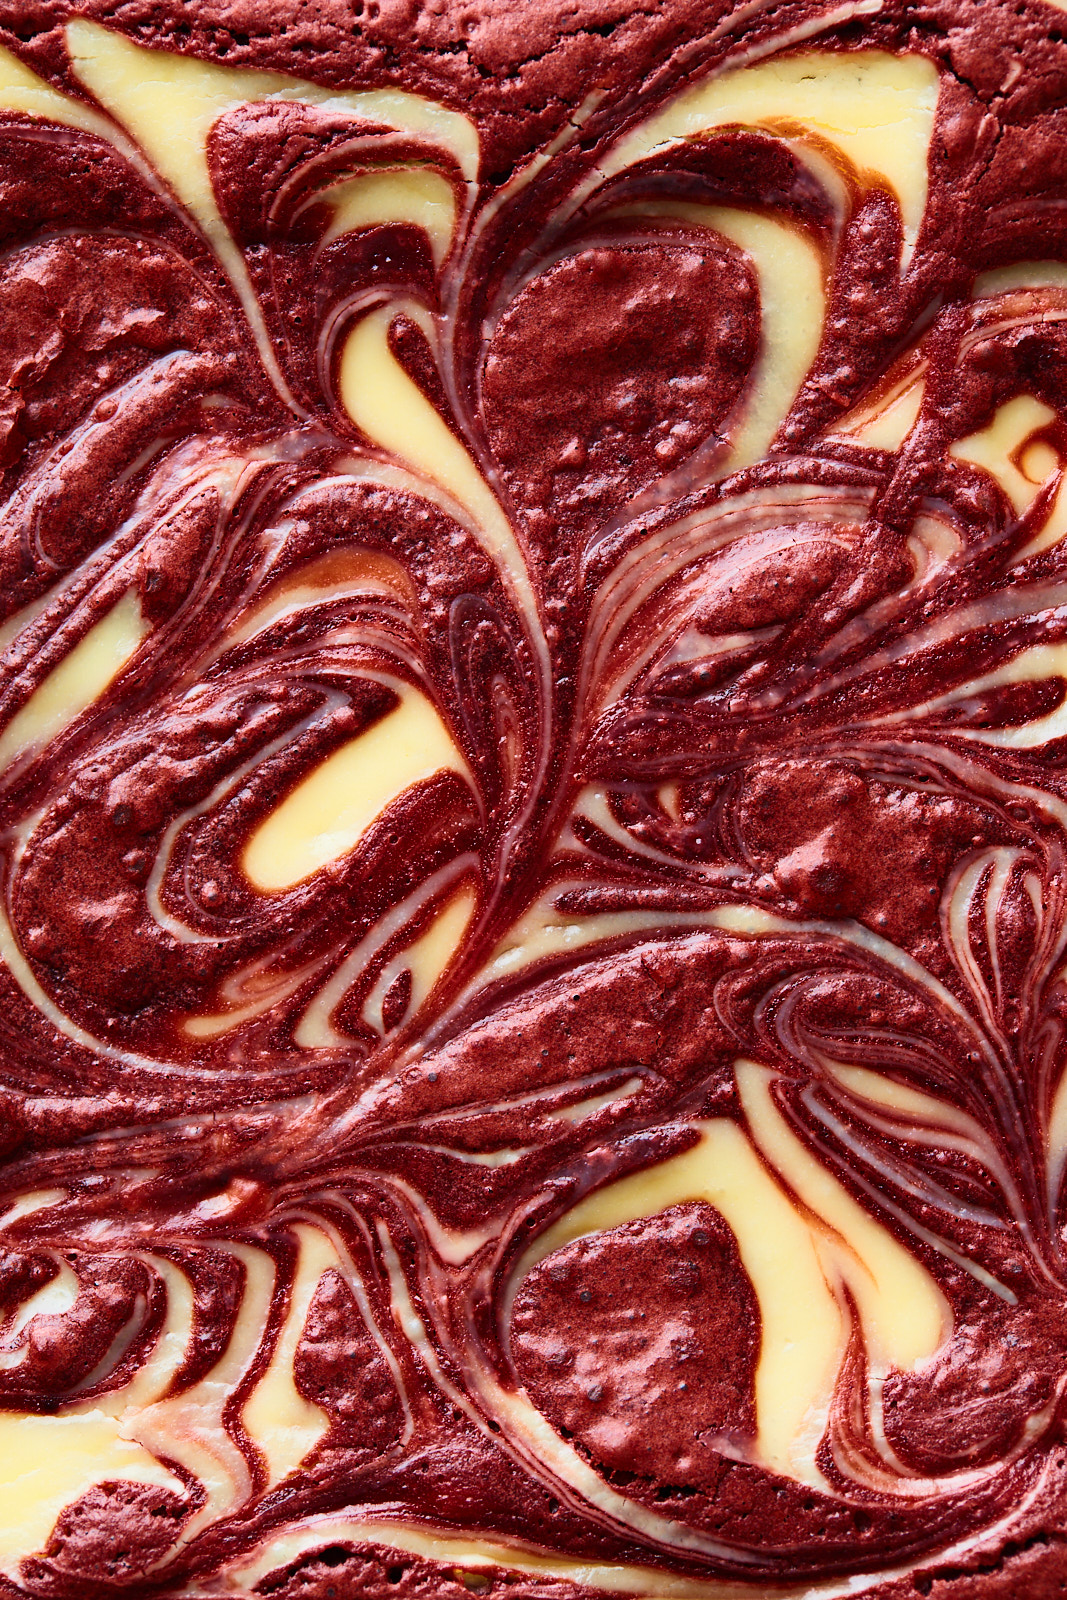
- When any recipe calls for swirls of something in the batter remember to gently and slowly make your swirls. Avoid mixing the two batters too much so that your swirls stay distinct. I like to use a knife to do the swirling as the base or brownie batter is on the thicker side.
Recipe
Ingredients
For the Red Velvet Brownies
- 3 oz semi sweet chocolate chopped (or you can use morsels/chips)
- ½ cup unsalted butter
- 1 cup granulated sugar
- 2 large eggs, at room temperature
- 2-3 teaspoons red food coloring
- 2 teaspoons vanilla extract
- ½ teaspoon salt
- ¾ cup all-purpose flour
- 3 Tablespoons unsweetened cocoa powder
For the Cream Cheese Batter
- 8 ounces cream cheese, softened (not warm)
- 1 large egg, at room temperature
- ¼ cup granulated sugar
- ¼ teaspoon vanilla
Directions
- Preheat oven to 350°F. Line an 8×8-inch baking pan with parchment paper with overhanging edges for easy removal from pan.
Combine Dry Ingredients
- In a small bowl or in measuring cup whisk together the flour, cocoa powder and salt. Set aside.
Make the Cream Cheese Batter
- In a medium size bowl beat the cream cheese until softened and smooth, then mix in the sugar, followed by the egg and vanilla. Set aside. If you find the mixture is too liquid transfer it to the fridge while you prep the brownie batter. (warm cream cheese makes cheese softer, runnier, or even liquid because its fats melt, breaking down the structure - that is why I don’t let the cream cheese sit on the counter too long before making this recipe. It needs to be softened but not warm)
Make Brownie Batter
- In a medium size sauce pan over low heat melt the butter and the chocolate stirring often then remove pan from heat.
- Whisk in the sugar until combined. Followed by the vanilla and the food colouring.
- Add the eggs while whisking vigoroulsy until it is emulsified and is slightly foamy, approx 30-60 seconds.
- Then add in the flour cocoa mixture and use a spatula to mix and fold it in to the batter until no more flour is visible.
- Scoop out approx ½ cup of the batter and set aside and pour the rest of the batter into the prepared pan. Smooth the top. Batter will be thick and that is ok.
Assemble & Swirl Brownies
- Dollop spoonfuls of the cheesecake mixture over the brownie batter.
- Take the reserved ½ cup of brownie batter and spoon dollops over the cream cheese batter.
- With a knife/ butter knife gently swirl the two batters together, almost scooping up from the bottom batter up to get a marble effect as the brownie batter will be thicker.
Bake & Chill
- Transfer brownies to preheated oven and bake for 25-30 minutes until the cheesecake filling is set, slightly puffed and a toothpick inserted into the center of the brownies comes out with moist crumbs.
- Let the brownies cool completely in pan over cooling rack and then refrigerate for 1-2 hours until they are firm enough to cut. Once firm, lift them out of the pan using the parchment paper and slice into squares. Store brownies in the fridge in an airtight container for up to 5 days
Recipe Notes
-
For more distinct cream cheese swirls - make sure to use softened but not warm cream cheese - if it is too soft or warm the cream cheese will be runnier, or even liquid because its fats melt, breaking down the structure. The brownie batter is thick and if the cream cheese batter is too runny your swirls will not be as distinct - the brownies will still taste good but the batters won’t combine as distinctly.
-
For the swirls - the brownie batter is quite thick and thickens more as it cools so I usually work pretty quickly when making these brownies. I also like to use a butter knife as opposed to a skewer for these swirls because you need to get through that batter. I actually dip the knife into the batters and slight scoop up from the bottom batter to pull some of it up to swirl and repeat. Pulling up a bit of the bottom helps distribute the batters a little better creating more distinct swirls.
-
To Freeze: For longer storage, once cool, wrap uncut brownies tight with plastic wrap then place in an airtight container or bag in the freezer, for up to 2-3 months. Cut brownies can be flash frozen on a baking sheet, then stored in a freezer bag with parchment paper between layers. Thaw overnight in the refrigerator then bring to room temperature before serving or enjoy chilled.
-
To Make a Double Batch: Simply double all the ingredients and bake in a 9×13 pan for around the same time but keep an eye on them as they may need a few extra minutes of baling time.
Adapted from The Food Network