Fresh Homemade Pita Bread
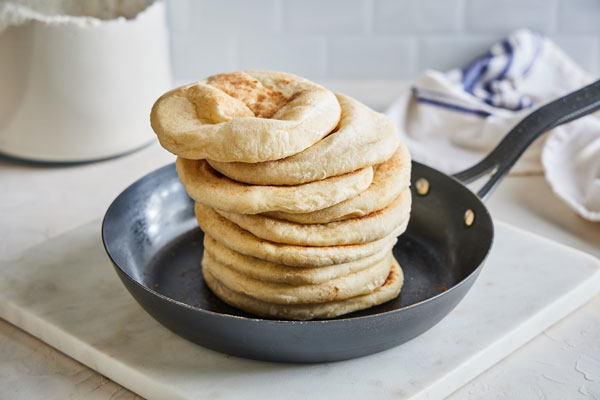
This simple pita bread is a yeast-leavened flatbread common in Mediterranean and Middle Eastern cuisines. It can be made with or without an interior pocket. Either way, the possibilities are endless—pita stuffed with falafel, veggies, shawarma or souvlaki. Watching the dough puff to glorious heights is extremely satisfying to say the least. And the soft, pillowy results will make the whole process worth it.
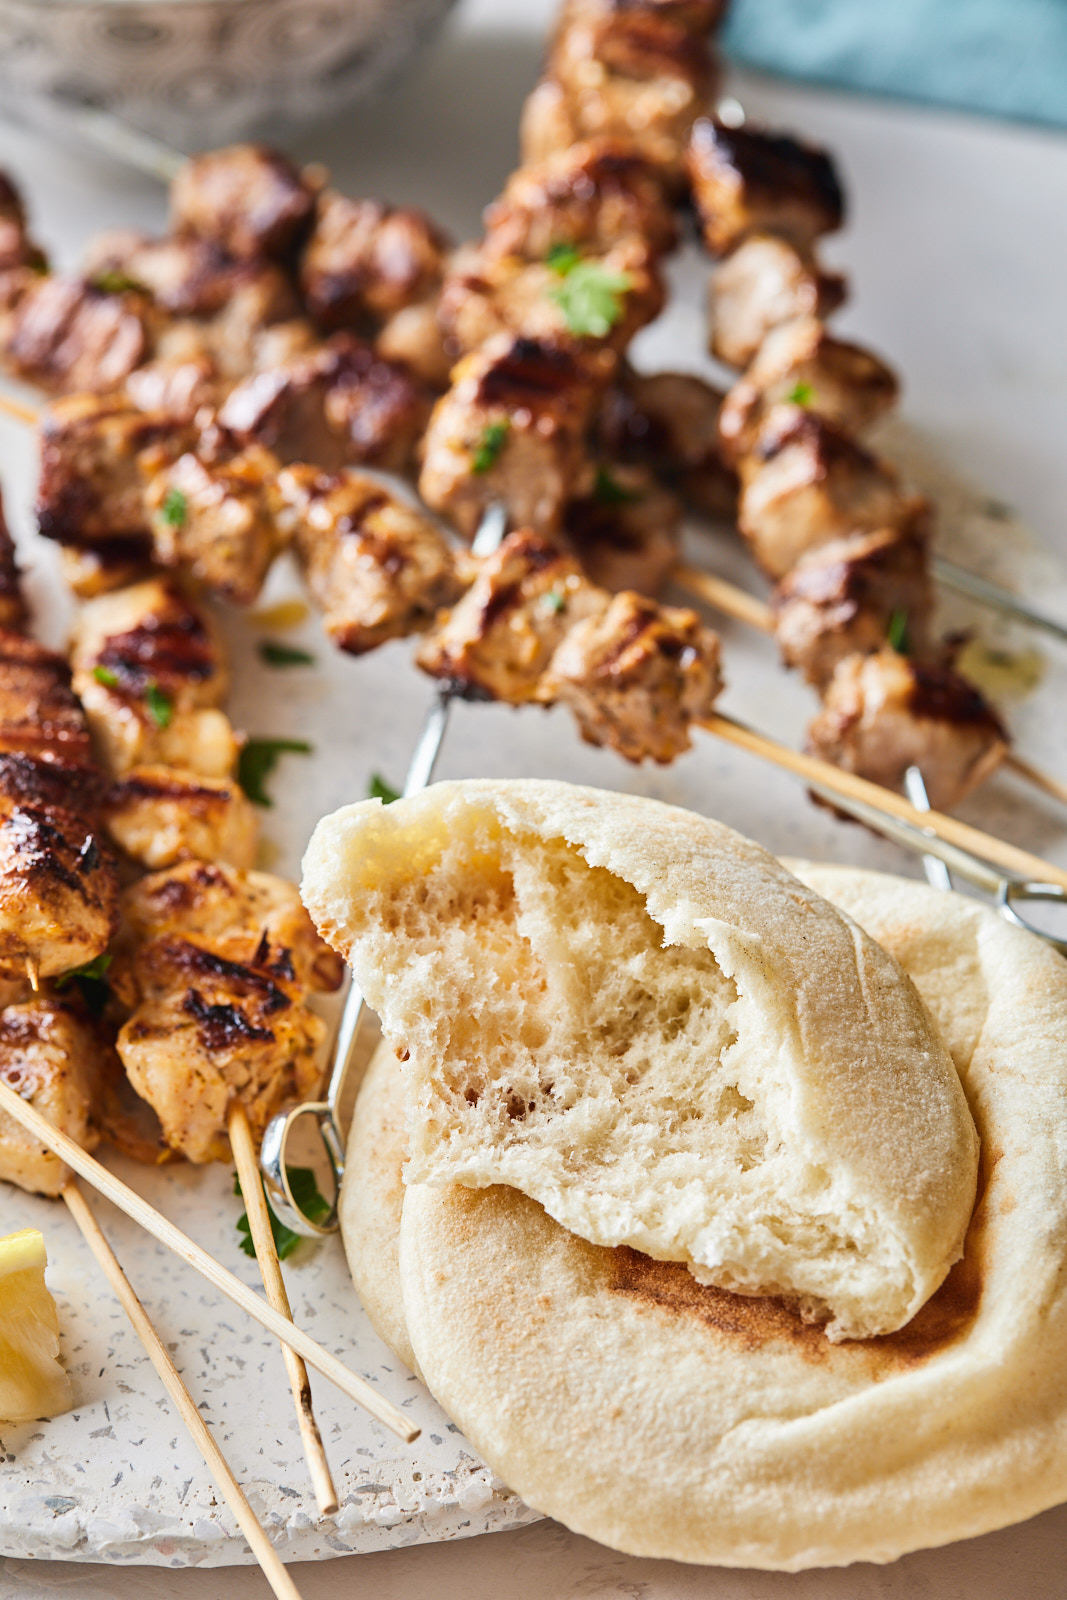
They’re soft, so chewy and the flavor is just so good. They are easier than you think to make. If you can make pizza dough, you can make these. And even if you haven’t you can still make these - trust me! The video is helpful so I strongly recommend checking it out and reading through the whole recipe before you get started. They are so simple and the dough is really easy to work with.
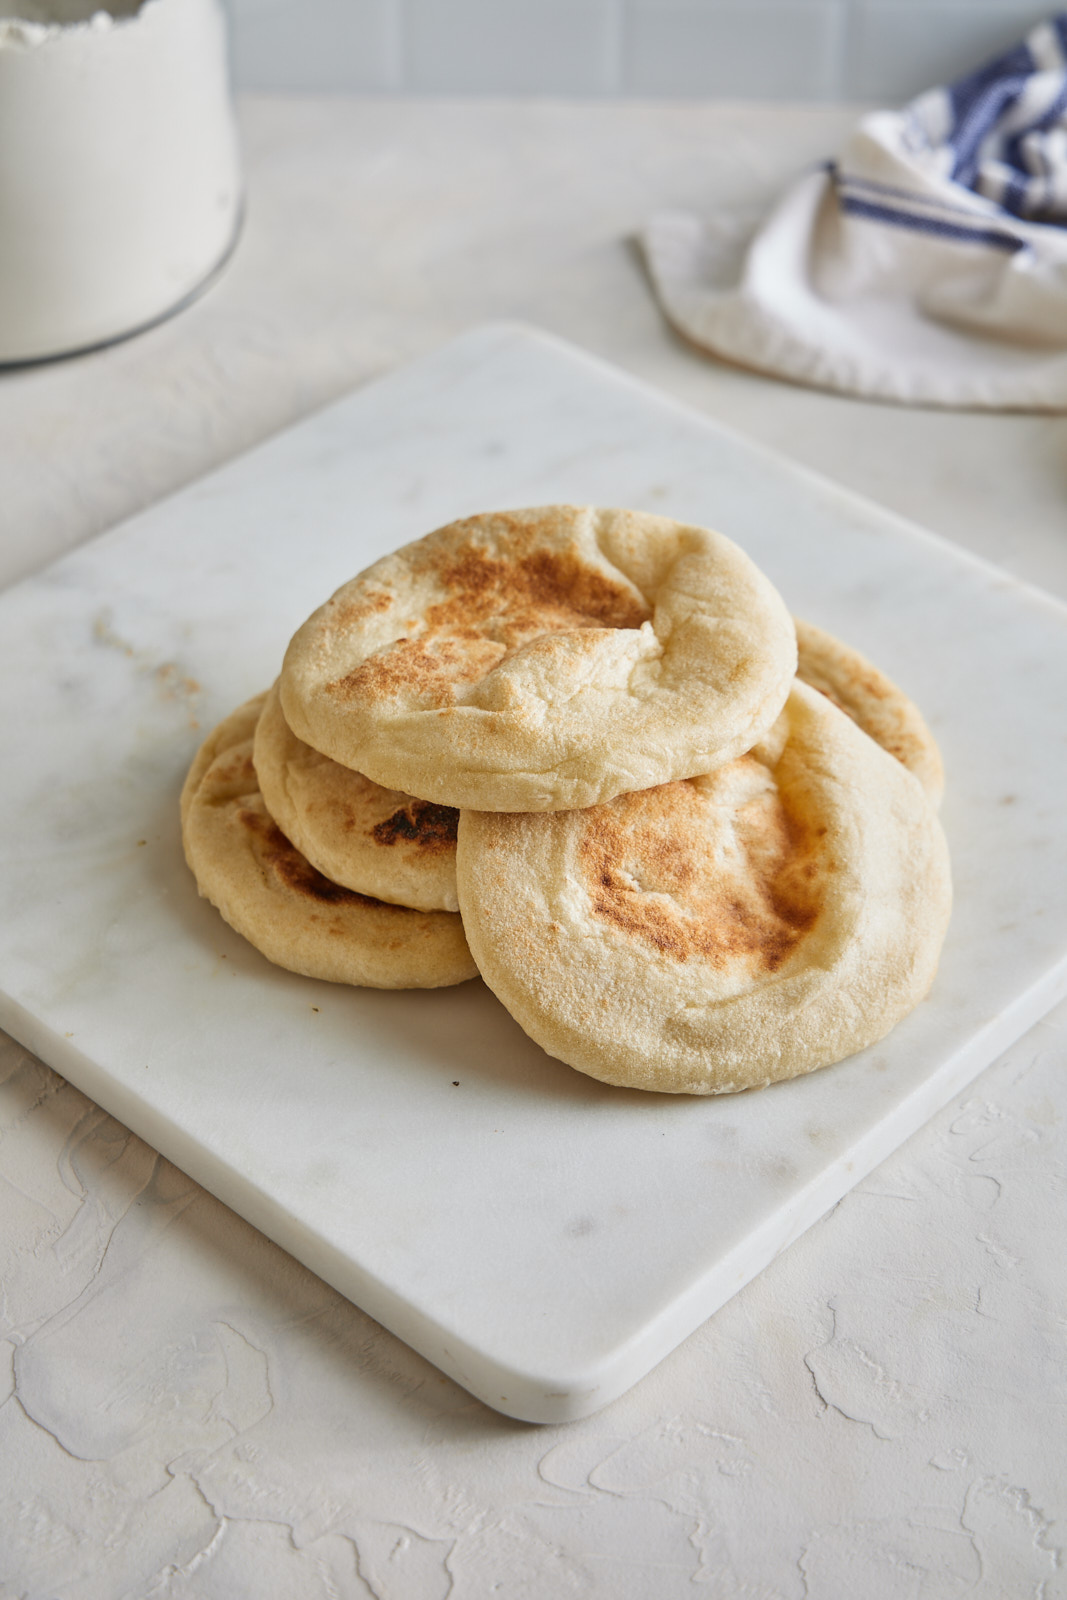
Pita is also a great make-ahead bread. I often prepare the dough through the first rise, punch it down, and then keep it refrigerated for up to a week. The flavor and texture actually improves after a few days of chilling. You can bake the whole batch at once or cut off just what you need to make one or two pitas at a time. There’s a reminder of at what point you can refrigerate dough in the directions too. You can make them as thin or as thick as you want them too depending one how thin or thick your roll them out. They taste way better than store bought and are easy to make - why not given them a go and see for yourself?
This recipe is perfect with:
Recipe
Ingredients
- 1½ teaspoons of active dry yeast
- 1 cup warm water
- 1 cup all-purpose flour (for initial sponge)
- 1½ tablespoons olive oil, plus more for greasing bowl and pan
- 1½ teaspoons salt
- 1 teaspoon of sugar
- 1¾ cups all-purpose flour, or more as needed
Directions
- Place yeast into the work bowl of a stand mixer and add 1 cup warm but not hot water and 1 cup flour. Whisk together and let stand 15 to 20 minutes for mixture to bubble and foam and rise and make a loose sponge. (A plain bowl and whisk will do if making by hand)
- Add 1½ tablespoons olive oil, sugar and salt into sponge; add remaining 1¾ cup flour. Mix at low speed, using a dough hook attachment, until dough is soft, and slightly sticky. If dough sticks to the sides of the bowl, add up to ¼ cup more flour, a little at a time. (Mix in with a wooden spoon if not using mixer and then start kneading by hand in the bowl until it’s incorporated and then transfer to a floured surface to finish kneading)
- Knead dough with machine on low speed until slightly springy and still soft, 5 to 6 minutes (7-10 min by hand). Turn dough out onto a floured work surface and form into a ball. Place ball into a bowl greased with olive and roll it around in the bowl to grease it. Cover bowl with plastic wrap and tea towel and let sit in a warm place until dough has doubled in size, about 2 hours. (At this point, you can refrigerate the pita dough until it is needed. You can also bake one or two pitas at a time, saving the rest of the dough in the fridge. The dough will keep refrigerated for about a week)
- Remove dough from bowl and place onto a floured work surface. Lightly pat into a flat rectangular shape about 1 inch thick. Use a knife to cut dough into 8 pieces.
- Form each piece into a small round ball with a smooth top, pulling dough from the sides and tucking the ends underneath the bottom.
- Cover dough balls with lightly oiled plastic wrap and let rest for 30 minutes.
- Lightly flour your work surface and a bit on top of a dough ball; gently pat dough ball flat then roll out (Doesn’t require a lot of pressure) forming a flat, round bread approx 5-7 inches wide and ¼ inch thick. Let dough round rest for 5 minutes. Repeat with remaining dough balls.
- Warm a cast iron skillet over medium-high heat. Drizzle a little oil in the pan and wipe off the excess. Lay a rolled-out pita on the skillet and bake for 30 seconds, until you see bubbles starting to form. Flip and cook for 1-2 minutes on the other side, until large toasted spots appear on the underside. Flip again and cook another 1-2 minutes to toast the other side. The pita should start to puff up during this time; if it doesn’t or if only small pockets form, try pressing the surface of the pita gently with a clean towel or a spatula. Keep cooked pitas covered with a clean dishtowel while cooking any remaining pitas.
- These are best eaten fresh, but will keep in a ziplock bag for a few days or in the freezer
