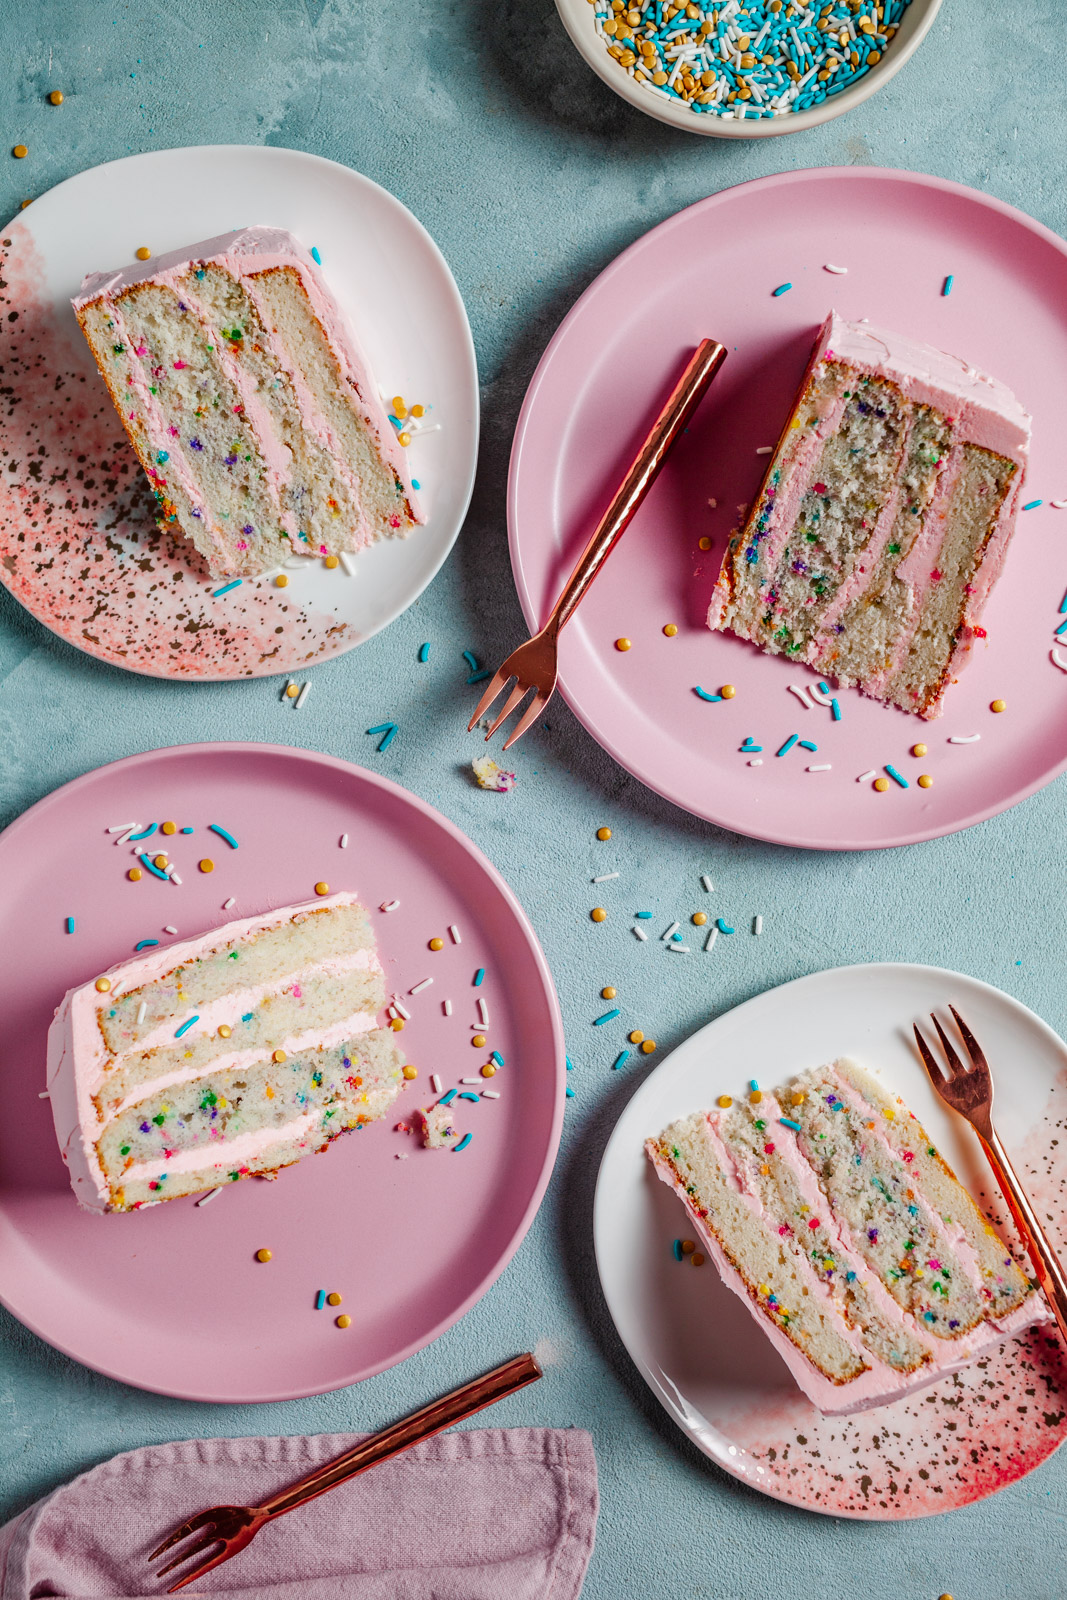
Funfetti Layered Cake
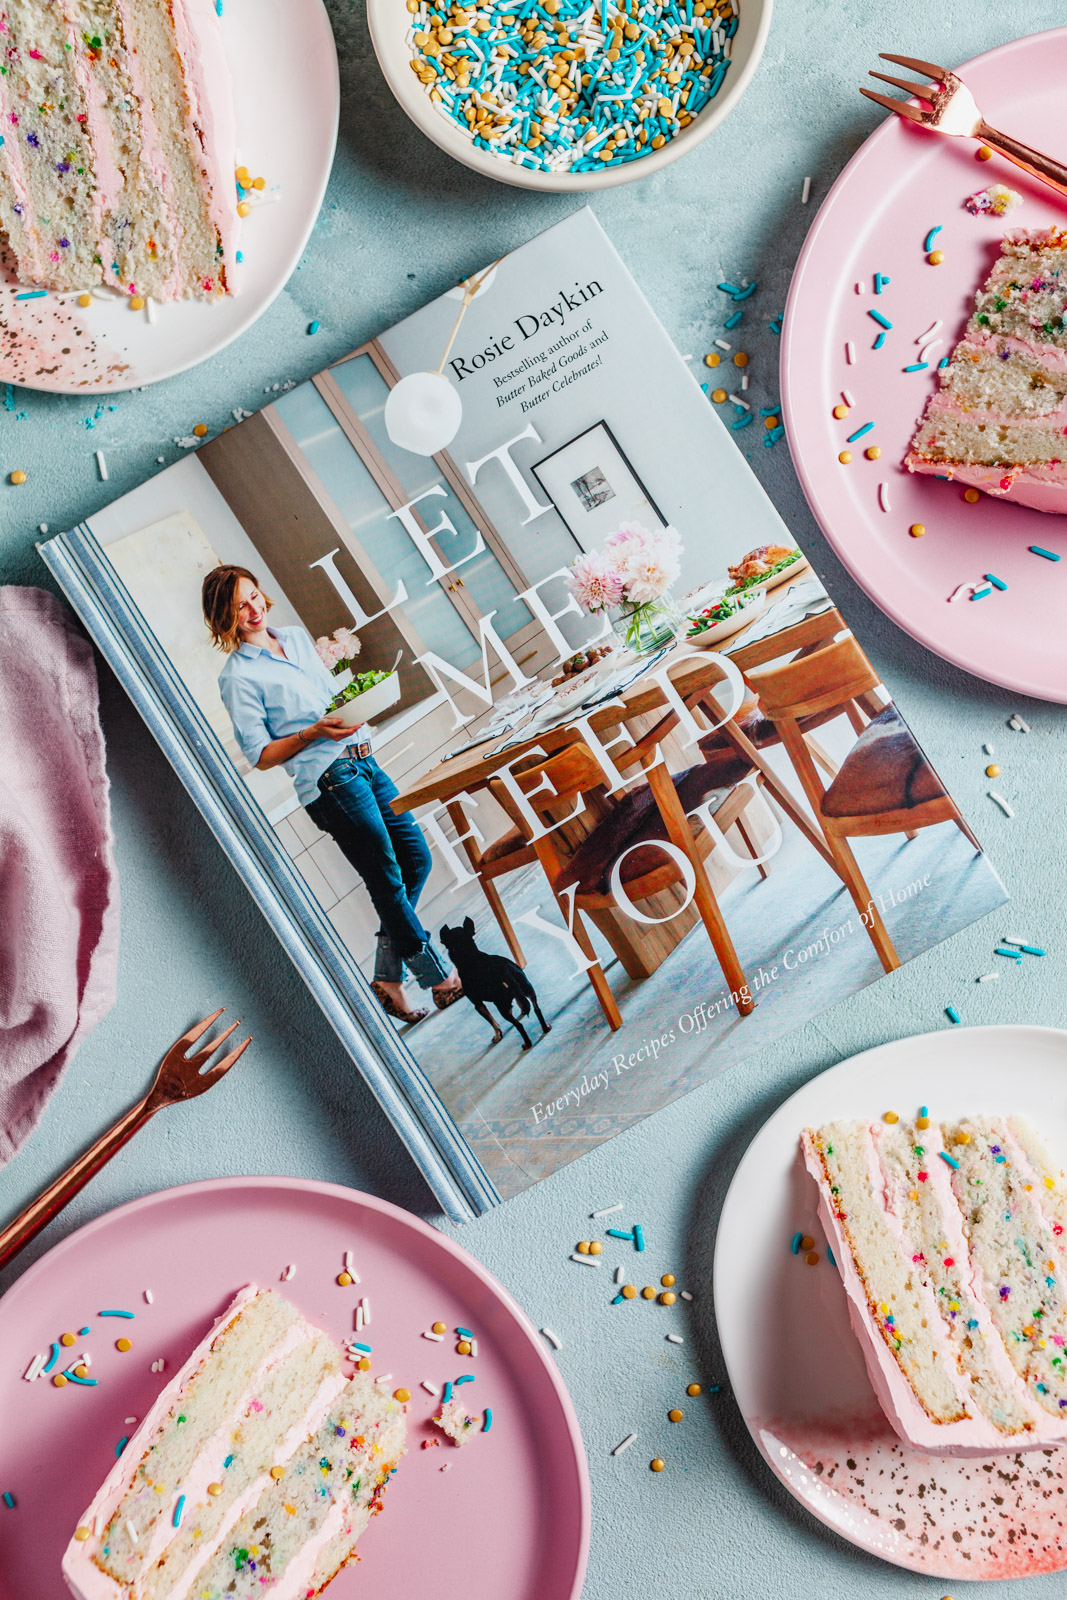
This cake is from Rosie Daykin’s most recent books called Let Me Feed You. A third book for Rosie and a bit of a change in direction in this one. The two previous being Butter Baked Goods and Butter Celebrates which are as their names imply - baking books. As Rosie herself says ‘bakers, like humans cannot live on sweets alone.’ She continues to share that her passion for baking really stems from her passion for all food and for using food to connect with others. I really enjoyed reading her introduction and getting to know a little bit about her, a bit about how she was raised and more about her love for food and a desire to feed others. She describes it as a skill some of us are born with and I couldn’t agree more.
I really haven’t thought about it like that before but it’s so true. I’m no chef but I definitely know my way around a kitchen and can make the most of anything in the fridge, freezer or pantry - something my husband boasts about. I never think that it’s worthy of boasting as I feel it’s quite normal - something my mom was good at and lots of people in my life are good at doing. (I’m sure being Greek added to my love of food and using it to feed others) I have realized more and more that that isn’t the case with everyone. Just like not everyone has a knack for languages or numbers or any other skill. We often take our skills for granted and minimize them and compare ourselves with how much more others can do or other skills people may have. I had a similar experience as Rosie did growing up. Her parents left her and her and her siblings at home and put her (12 years old her) in charge of the food. That happened to me around the same age - mom left for a longer time when my grandfather passed away abroad. It was a huge learning curve for me in the kitchen and although I had help my my father and aunt - it awakened a love for being in the kitchen and feeding others (plus it renewed my appreciation for my mom and all that she does).
Enough about me - back to this lovely book. Rosie is a natural storyteller and the beginning of each chapter starts with a bit of a story for an introduction, which I appreciate and enjoy so much as I’m not so good at storytelling but love reading the words of one who is. She mentions a nice point in her book about furnishing a home and how it shouldn’t be done in a day - it’s should be lived in and pieces should be special ones picked up along the way that have meaning so that someone visiting can learn a bit about you through your decor/style. She has an interior designing background which I will talk a bit about later. Back to this relevant point. Her book is a lot like walking around in her ‘home’ admiring her ‘decor’- well chosen recipes along with her stories really gives us a glimpse of who Rosie is and how she enjoys life, food, family and her dear pets.
The recipes are clear and simple to understand and although most of them are quite simple and no fuss - just the best ingredients prepared well, they are elegant and well thought out. Her directions are as if she is right beside you talking you through the recipe. I love her PSSST additions which are included as notes or tips in some of the recipes. The book is so charming and I really enjoyed reading through it. Her basics section of things she has in her pantry, fridge and her must have kitchen tools is not intimidating at all. I have read some books and am like ok - seriously when am I ever going to use that kitchen gadget ever.? The book is not a book about basics or a beginners guide (although the recipes are written well and quite simple to follow) - it’s about making delicious food uncomplicated and making it extremely well. Her photography is clean and fabulous and I can definitely see the designer in her. I love the style of it - it’s clean and simple and so pleasing to look at.
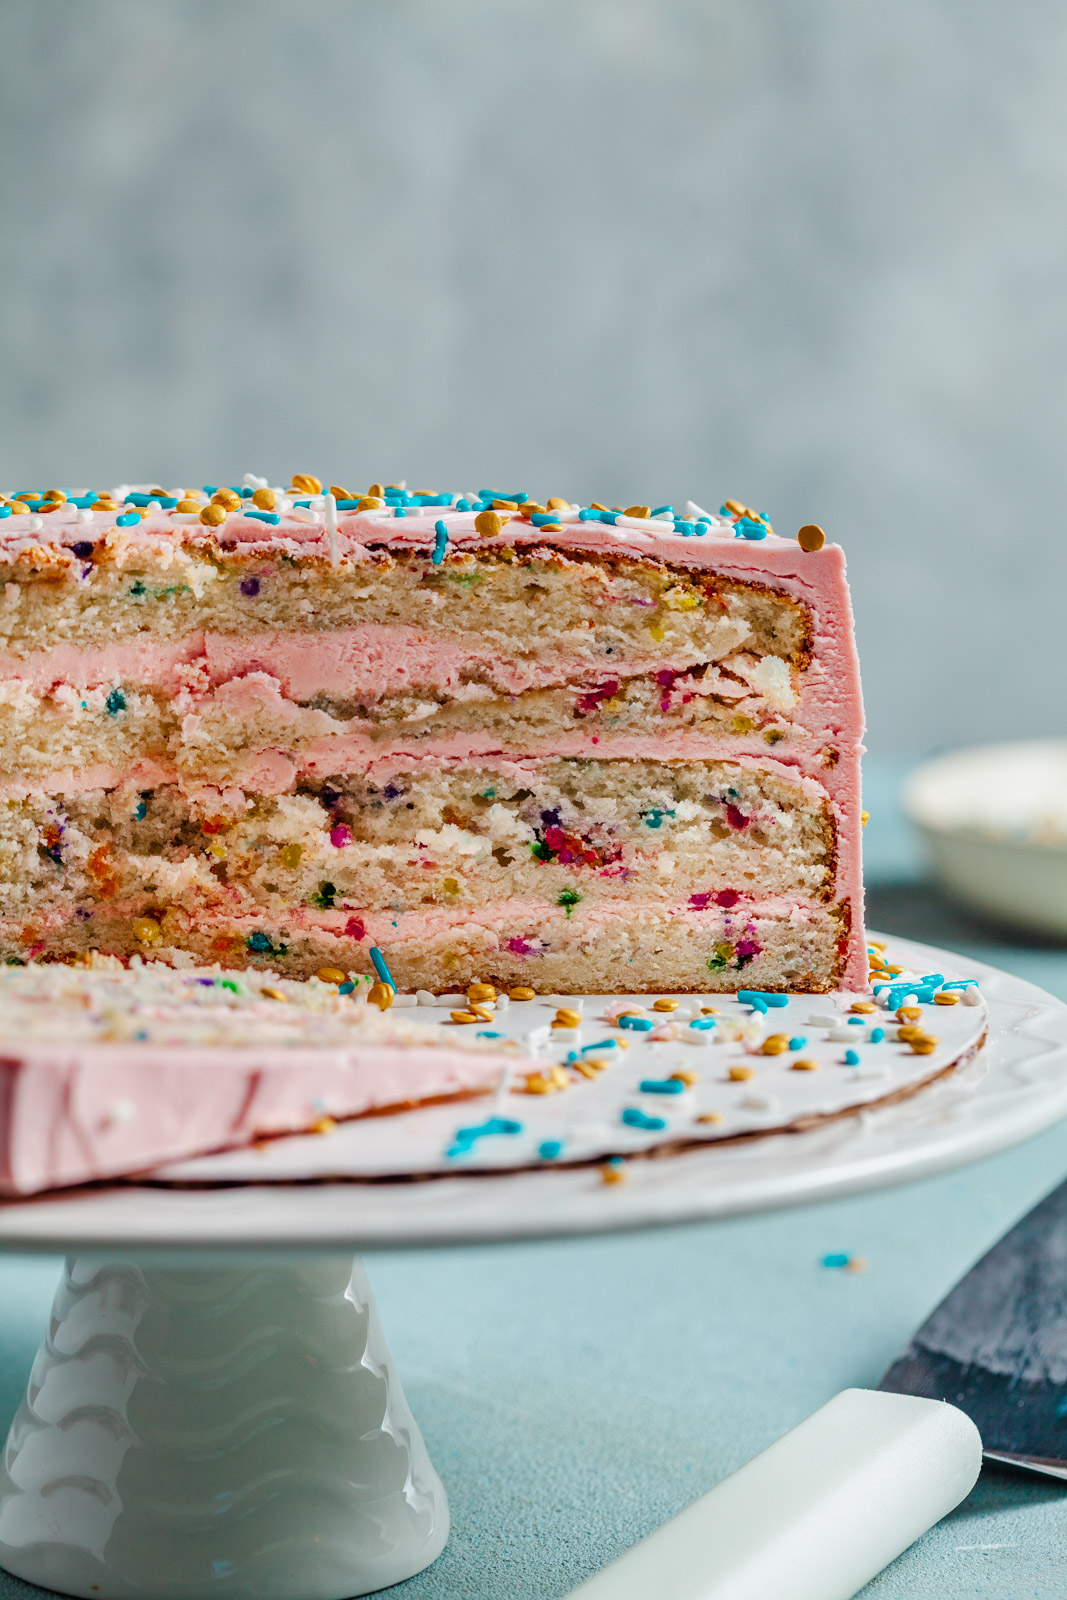
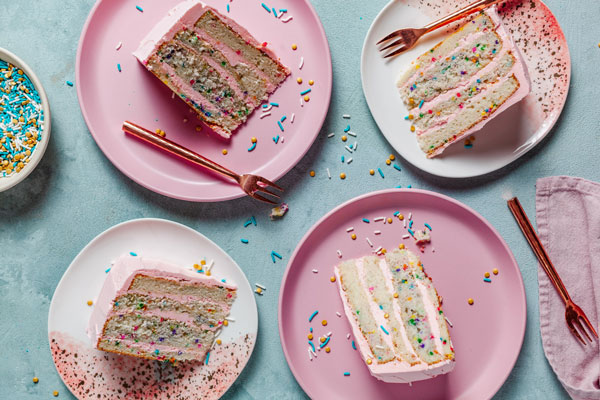
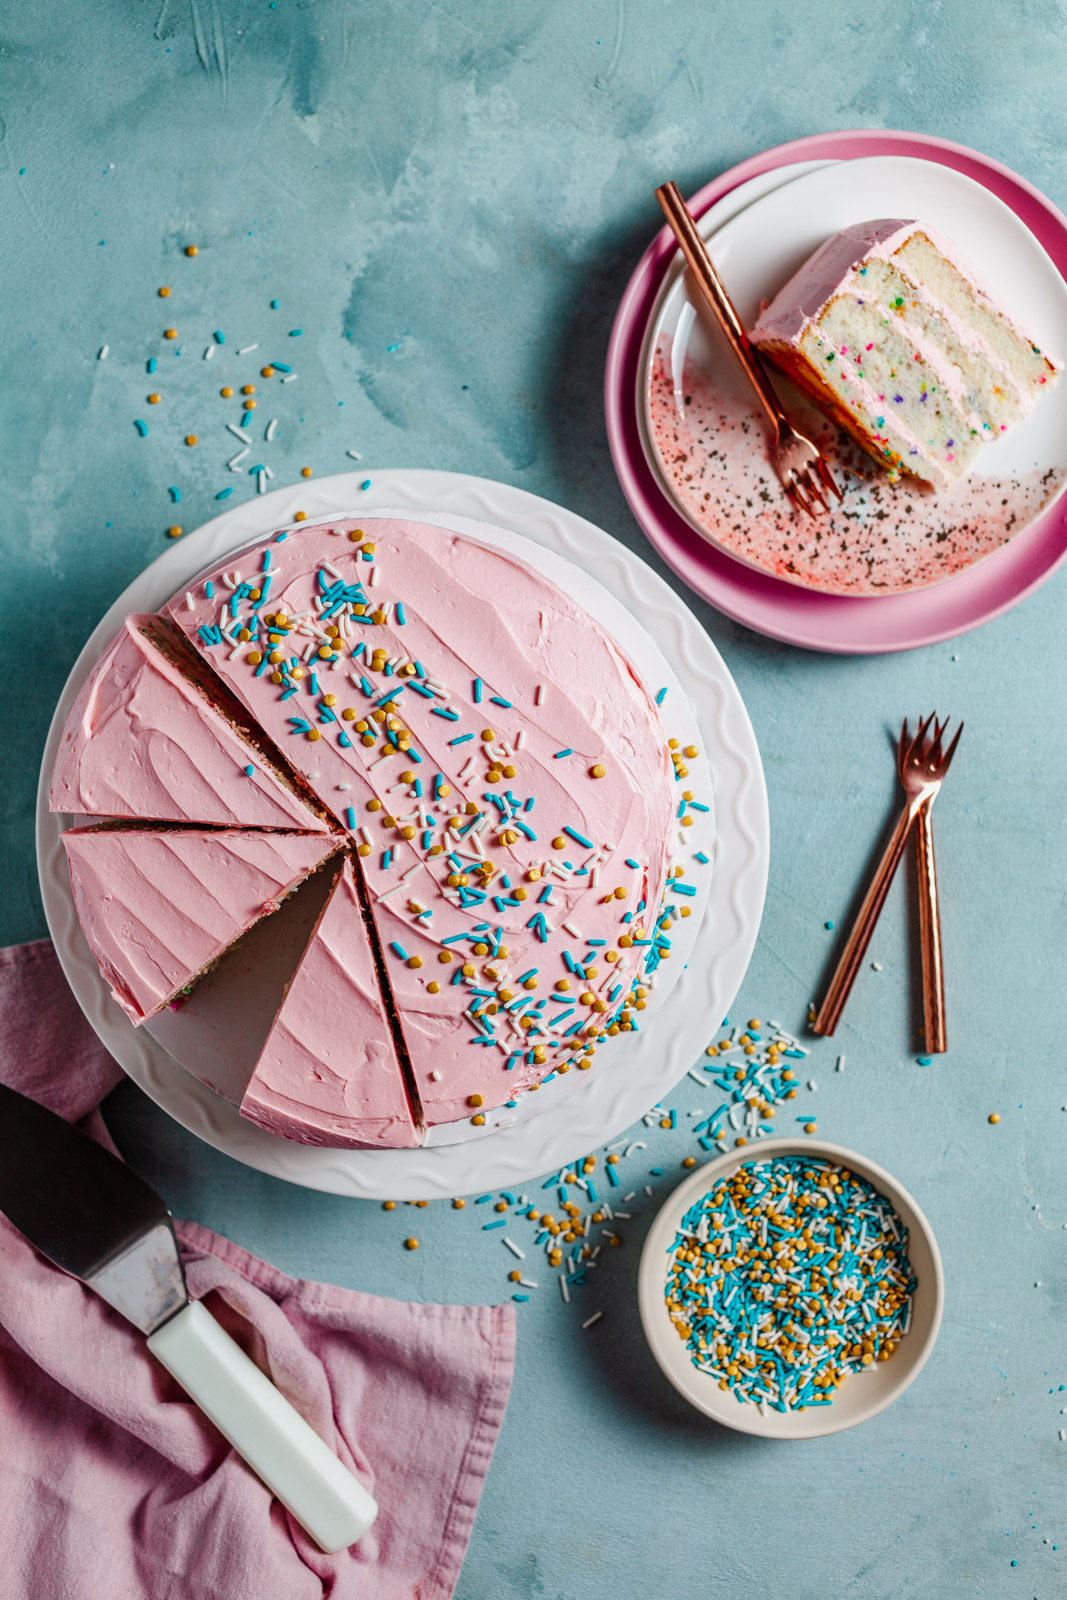
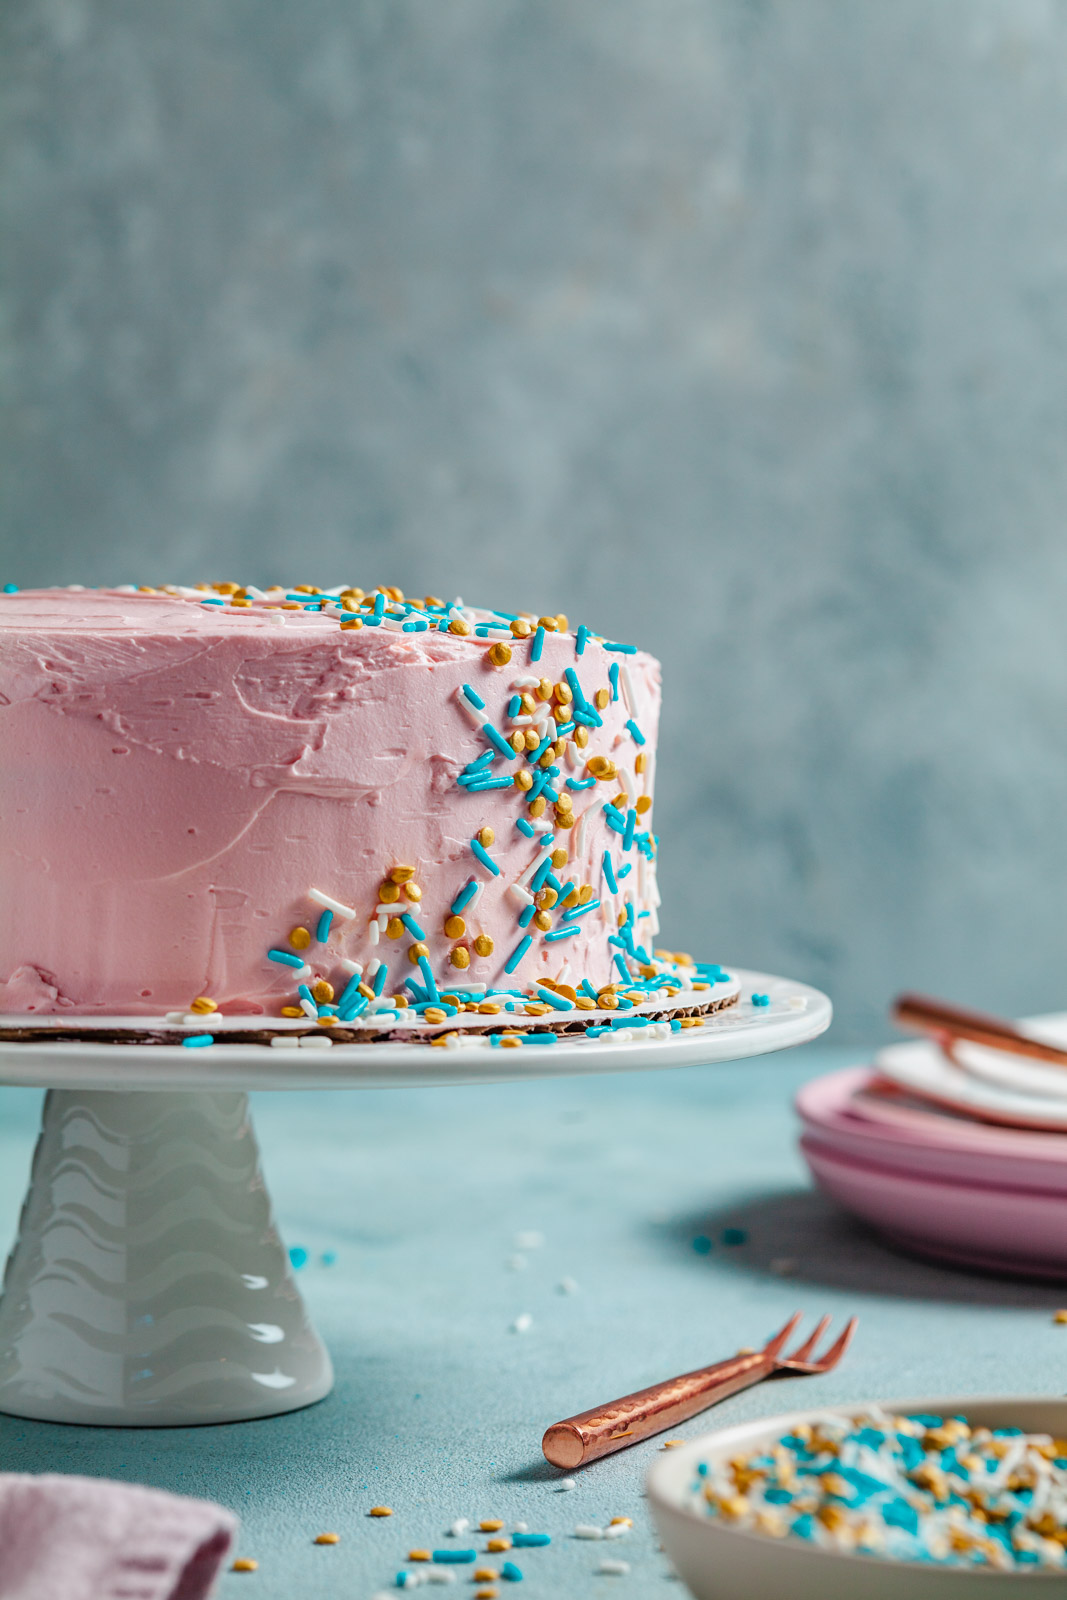
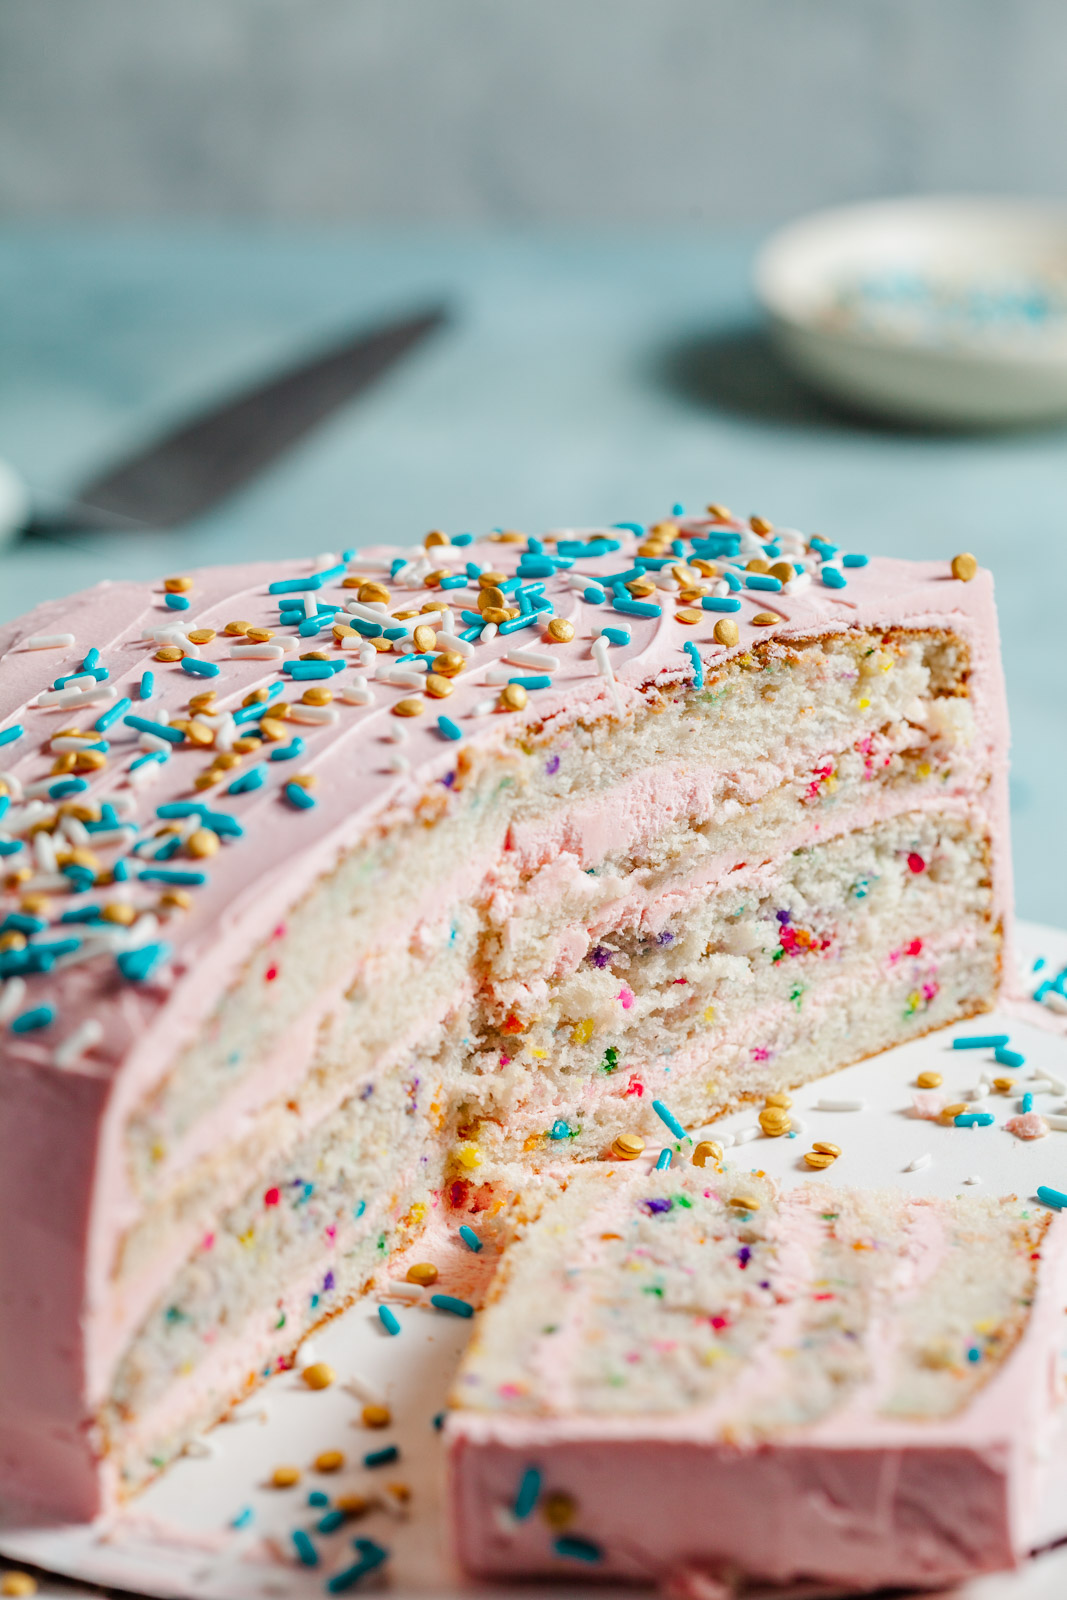
I made her sprinkle cake which she calls If Friday Were a Cake. It was the perfect fluffy celebration cake. I can’t describe it better than that. What I will say is that her buttercream frosting is the best I have ever made - EVER! This is the perfect example of what I’m mentioned earlier about her recipes. Although they include basic things - she elevates them with her technique. There’s no magical ingredient in this buttercream (although technically that’s a lie cause butter is pretty magical) but I have never made it this way and it’s worth the extra few minutes to make. Best ever! I saved making this recipe for the weekend I knew I was visiting friends. They have three adorable kids and thought they would love it - it was a definite hit with them. I will be making this again for sure. I didn’t have a 8 inch baking pan so I used my 9 inch pans. It worked out fine but not as easy to slice the layers freehand (good for you if you have one of those handy dandy cake silver tools). If you are using a 9 inch pan like I did I suggest just leaving it as a two layer cake or wrapping the cakes in plastic wrap and attempting to cut them after they have been in the fridge for a couple hours or overnight to make I easier to slice as these babies are fluffy. So the verdict on this book is that It’s a keeper and I have way too many book marked recipe to mention!! Enjoy this super fun cake from it!
Recipe
Ingredients
- 2¾ cups pastry flour
- 1 tablespoon baking powder
- ½ teaspoon salt
- 1½ cups buttermilk, room temperature
- 2 teaspoons pure vanilla
- ¾ cup butter, room temperature
- 1¾ cups granulated sugar
- 5 egg whites, room temperature
- ¼ cup rainbow sprinkles
- 1 recipe Pink Vanilla ButterCream
Pink Vanilla ButterCream
- 2 cups butter, room temperature
- 4 cups icing sugar, sifted
- ⅓ cup whole milk
- 2 tablespoons pure vanilla
- 6 to 8 drops red food coloring
Directions
- Position the rack in the center of the oven and preheat to 350ºF. Butter two 8-inch cake pans and line with parchment paper. Set aside.
- On a large piece of parchment, sift the flour, baking powder, and salt. Set aside.
- Combine the buttermilk and vanilla in a bowl and set aside.
- In a stand mixer fitted with the paddle attachment, beat the butter and sugar on medium-high until pale and fluffy. Scrape down the sides ofthe bowl. Turn the mixer to low and add the egg whites, then increase speed to high and beat until thick and smooth. Scrape down the sides of the bowl.
- With the mixer running on low, add the dry ingredients in three parts, alternating with the buttermilk mixture, beginning and ending with the dry. Scrape down the sides of the bowl. Gently fold in the rainbow sprinkles.
- Divide the batter evenly between the two prepared pans and smooth the tops flat with a rubber spatula. Give the pans a couple of light tapson the counter to deflate any overly large air pockets.
- Bake on the center rack for 30 to 40 minutes, until the tops are a pale golden color and spring back a little when pressed lightly with your fingertip. Remove from the oven and allow the cakes to cool in the pans for about 10 minutes before inverting them onto wire racks tocool completely.
- When the cakes are cool, use a large serrated knife to cut each one inhalf horizontally, making sure to keep the blade level as you cut, tocreate four layers in total. If that seems daunting, you can always leave the cakes as they are and make a two-layer cake
- Place the bottom layer of cake on a cake board or large plate. Using an offset spatula, spread about ½ cup of the pink vanilla butter cream evenly over the cake layer. Top with the next layer and repeat untilyou have placed the last layer on top.
- With the back of the offset spatula, smooth a thin layer of butter cream across the top and down the sides of the cake. Rotate your spatula back and forth to evenly and thoroughly coat the cake with butter cream, making sure to remove any excess. This thin layer of butter cream willact as your crumb coat, locking down any crumbs. Place the cake in the refrigerator for about 15 minutes to allow the crumb coat to set up.
- Remove the cake from the refrigerator and place a large dollop of butter cream on top. Use your offset spatula to smooth the icing acrossthe top and down the sides of the cake. Apply more icing to the sidesof the cake and smooth it out with your spatula. This will cause the butter cream to build up around the top edge of the cake. Use the spatula to drag the edge of butter cream across the top of the cake, which will help create a sharp straight edge rather than a rounded one.
- If you have some sprinkles left over, you can sprinkle them around thetop of the cake to give people a hint of what is to come inside.
- Store before icing, covered, for up to 3 days, or frozen for up to 1 month
Pink Vanilla ButterCream
-
In a stand mixer fitted with the paddle attachment, beat the butter onhigh speed until very fluffy and pale yellow. Turn the mixer to low and add the icing sugar. Continue to beat on low until well combined.Scrape down the sides of the bowl.
-
Add the milk, vanilla, and food coloring and beat again on low tocombine. Turn the mixer to high and continue to beat until the icing is light and fluffy, about 10 minutes.