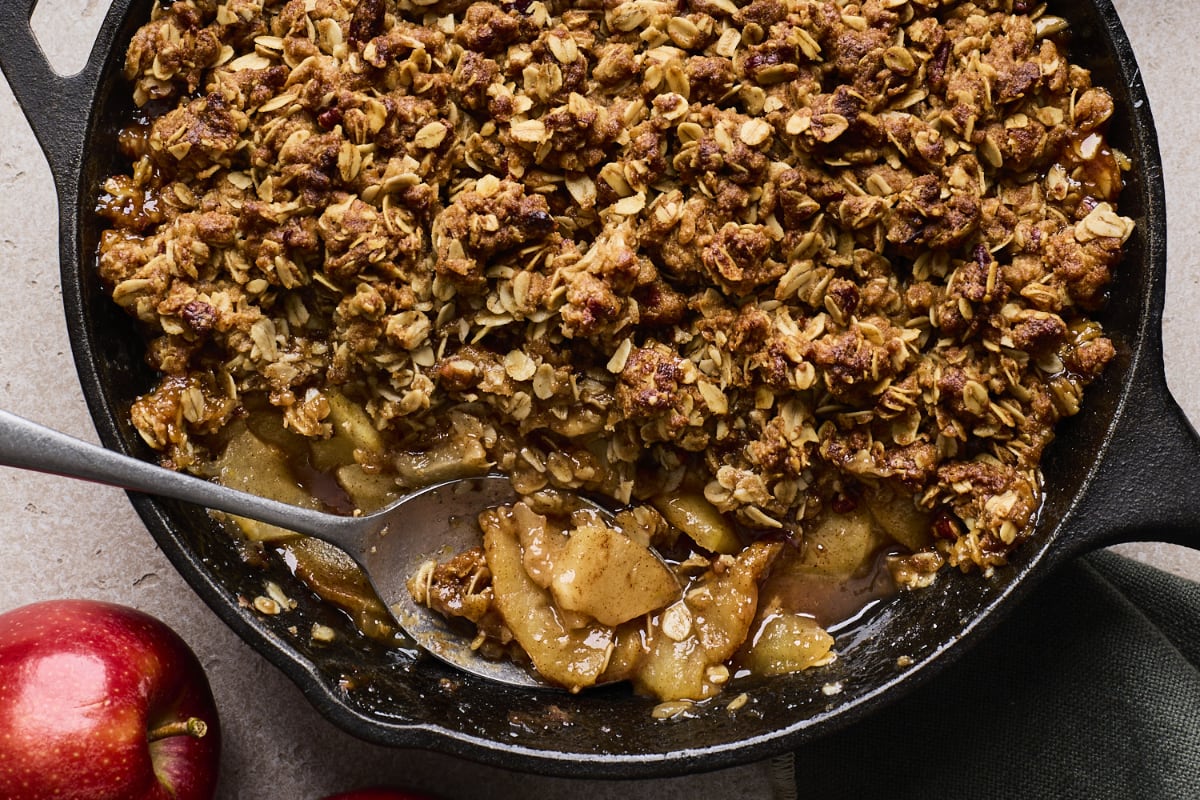
Easy Skillet Apple Crisp
 apples

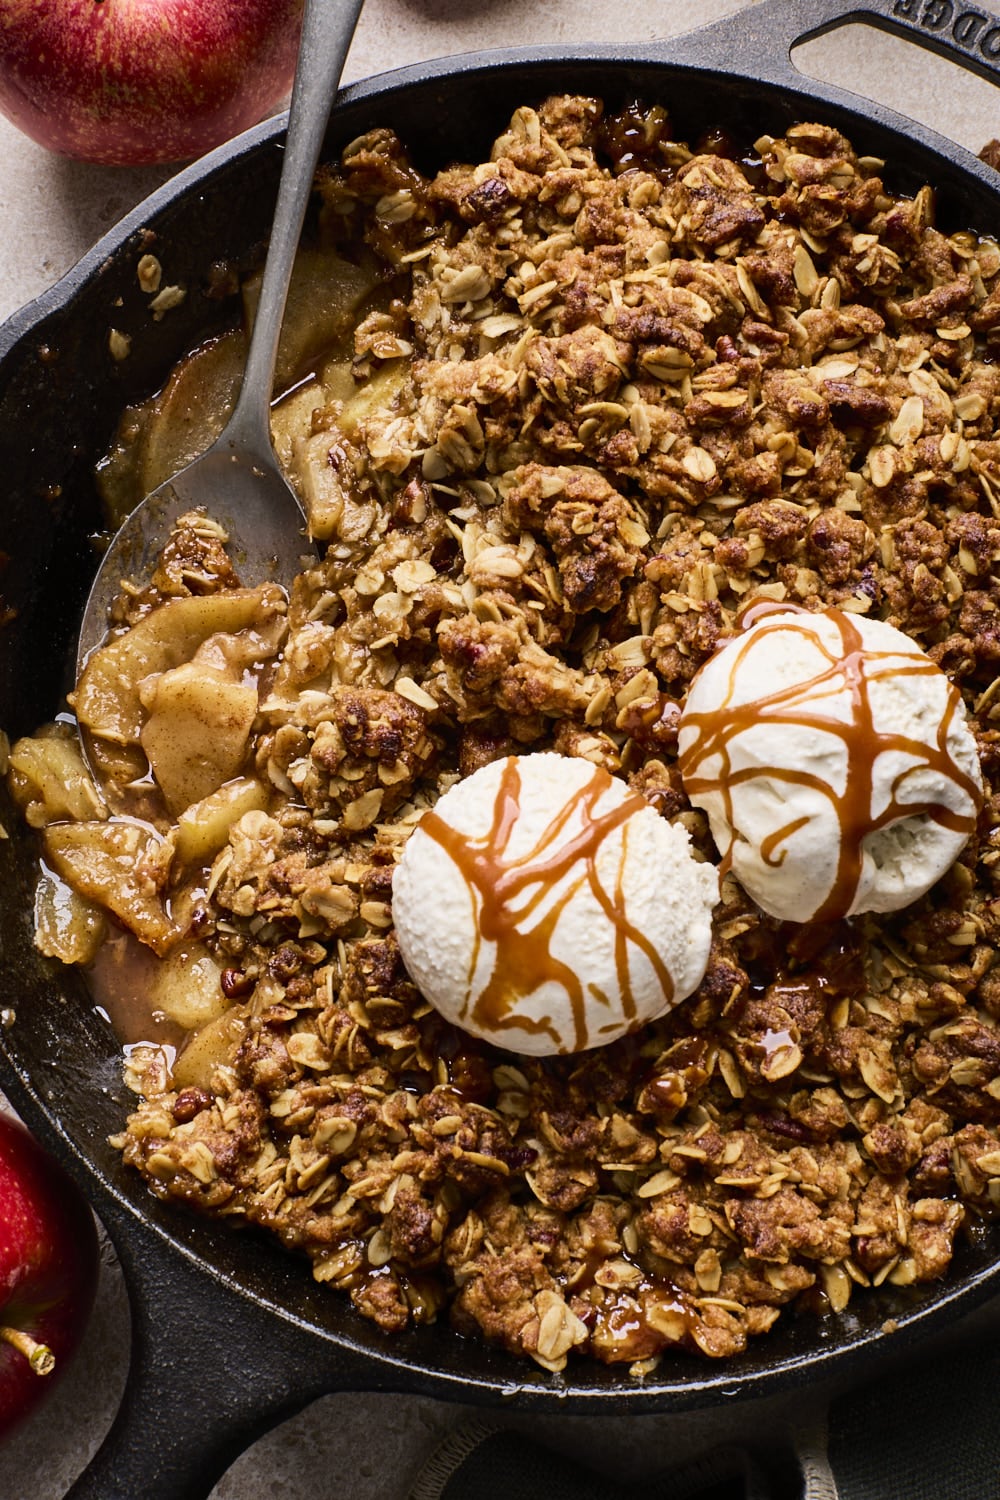
Easy skillet apple crisp is on repeat. If you are looking for a smaller batch dessert than my classic apple crisp then this is the only one! Look no further. Tender sweet spiced apples with a super crunchy buttery spiced oat topping. You will love how easy it is to put together and how perfect the ratio of apples to topping is. It is best served warm scooped right out of the skillet with vanilla ice cream. It’s one of our favorite classic desserts made in a skillet and made easy!
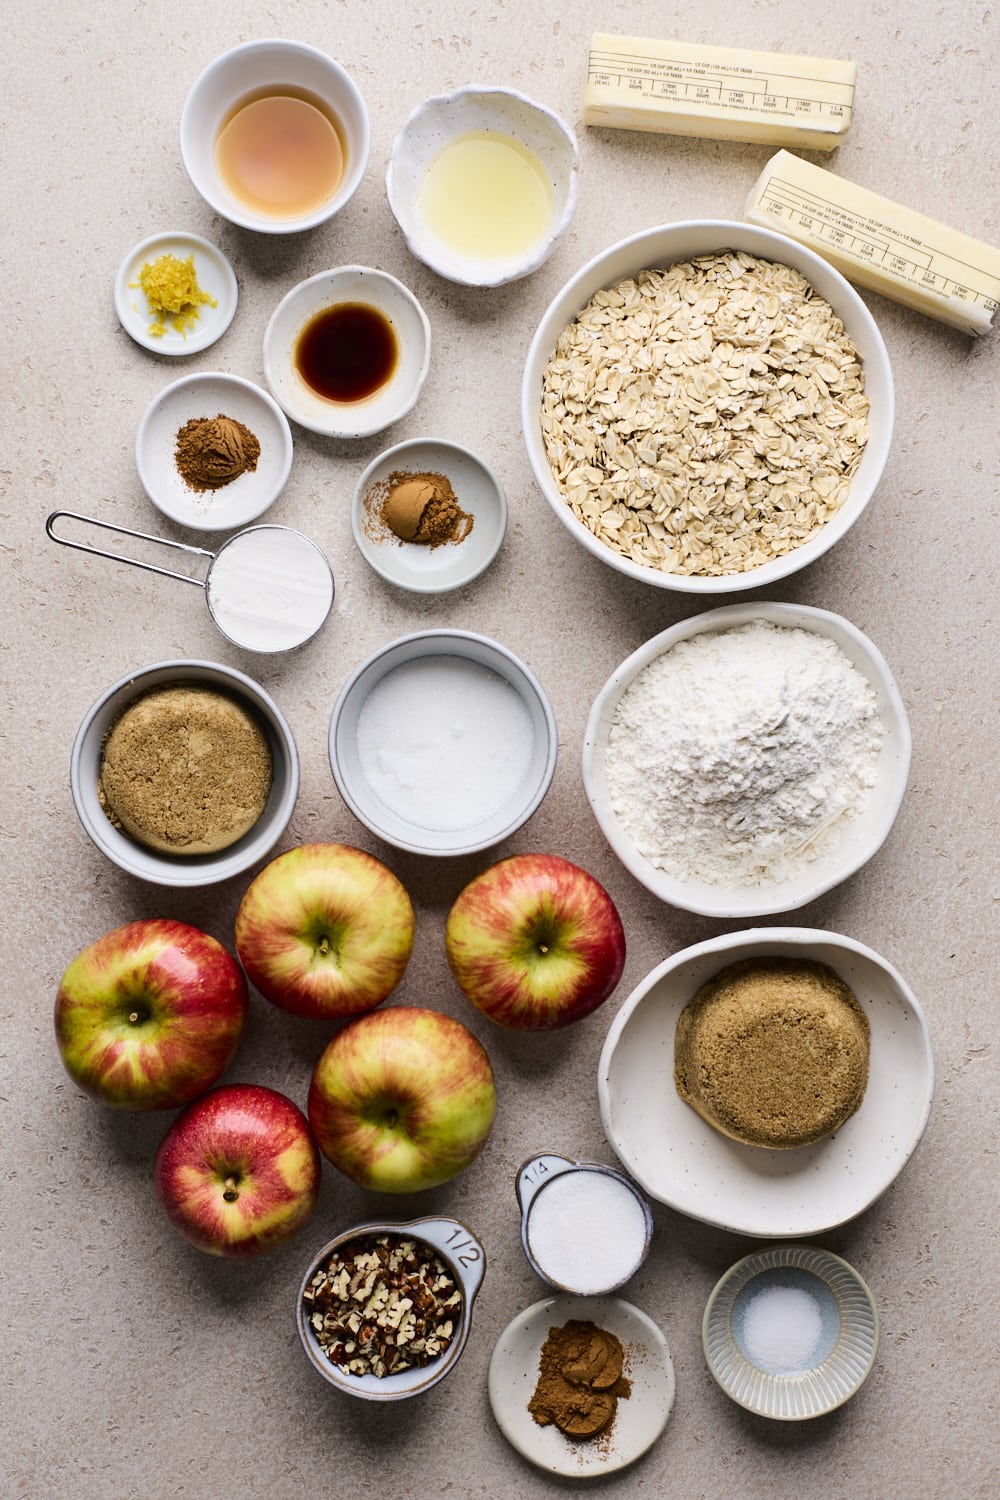
Easy Apple Crisp Recipe Ingredients
- APPLES: We like to use tart and crisp variety of apples like granny smith apples or honeycrisp. They have just the right amount of sweet and tartness, but fee free to use pink lady, fuji, gala, braeburn, red delicious.
- OATS: Old-fashioned rolled oats is what we use for the topping.
- SUGAR: We use light brown sugar or dark brown sugar plus granulated sugar for this recipe.
- FLOUR: The fruit always gets pretty juicy and wet when it cooks so the flour helps thicken those juices in the filling and in the topping it acts as a binder that mixes with butter and sugar to form the iconic crumbly, golden-brown clumps
- SPICES: We like to use a band of apple pie spice and cinnamon. If you do not have apple pie spice you can substitute it with a variety of warming spices - we suggest ½ teaspoon extra ground cinnamon, ¼ teaspoon ground nutmeg, and 1/8 teaspoon ground allspice or cardamom for 1 tsp of apple pie spice. If you prefer to keep things simple just with a little extra cinnamon that is fine too.
- BUTTER: We use unsalted butter and melted for this recipe.
- VANILLA: A splash of vanilla is always a good idea for sweet baked goods. We usually use pure vanilla extract.
- APPLE CIDER VINEGAR: The apple cider vinegar helps balance the sweetness and also helps keep the apples from browning
- LEMON JUICE & LEMON ZEST: The lemon juice and zest also helps balance the sweetness with its bright flavor and also help keep the apples from browning
- PECANS: We love the added flavor and texture they add to the toppings. They are optional .
How To Make This Easy Skillet Apple Crisp (detailed instructions in recipe card below)
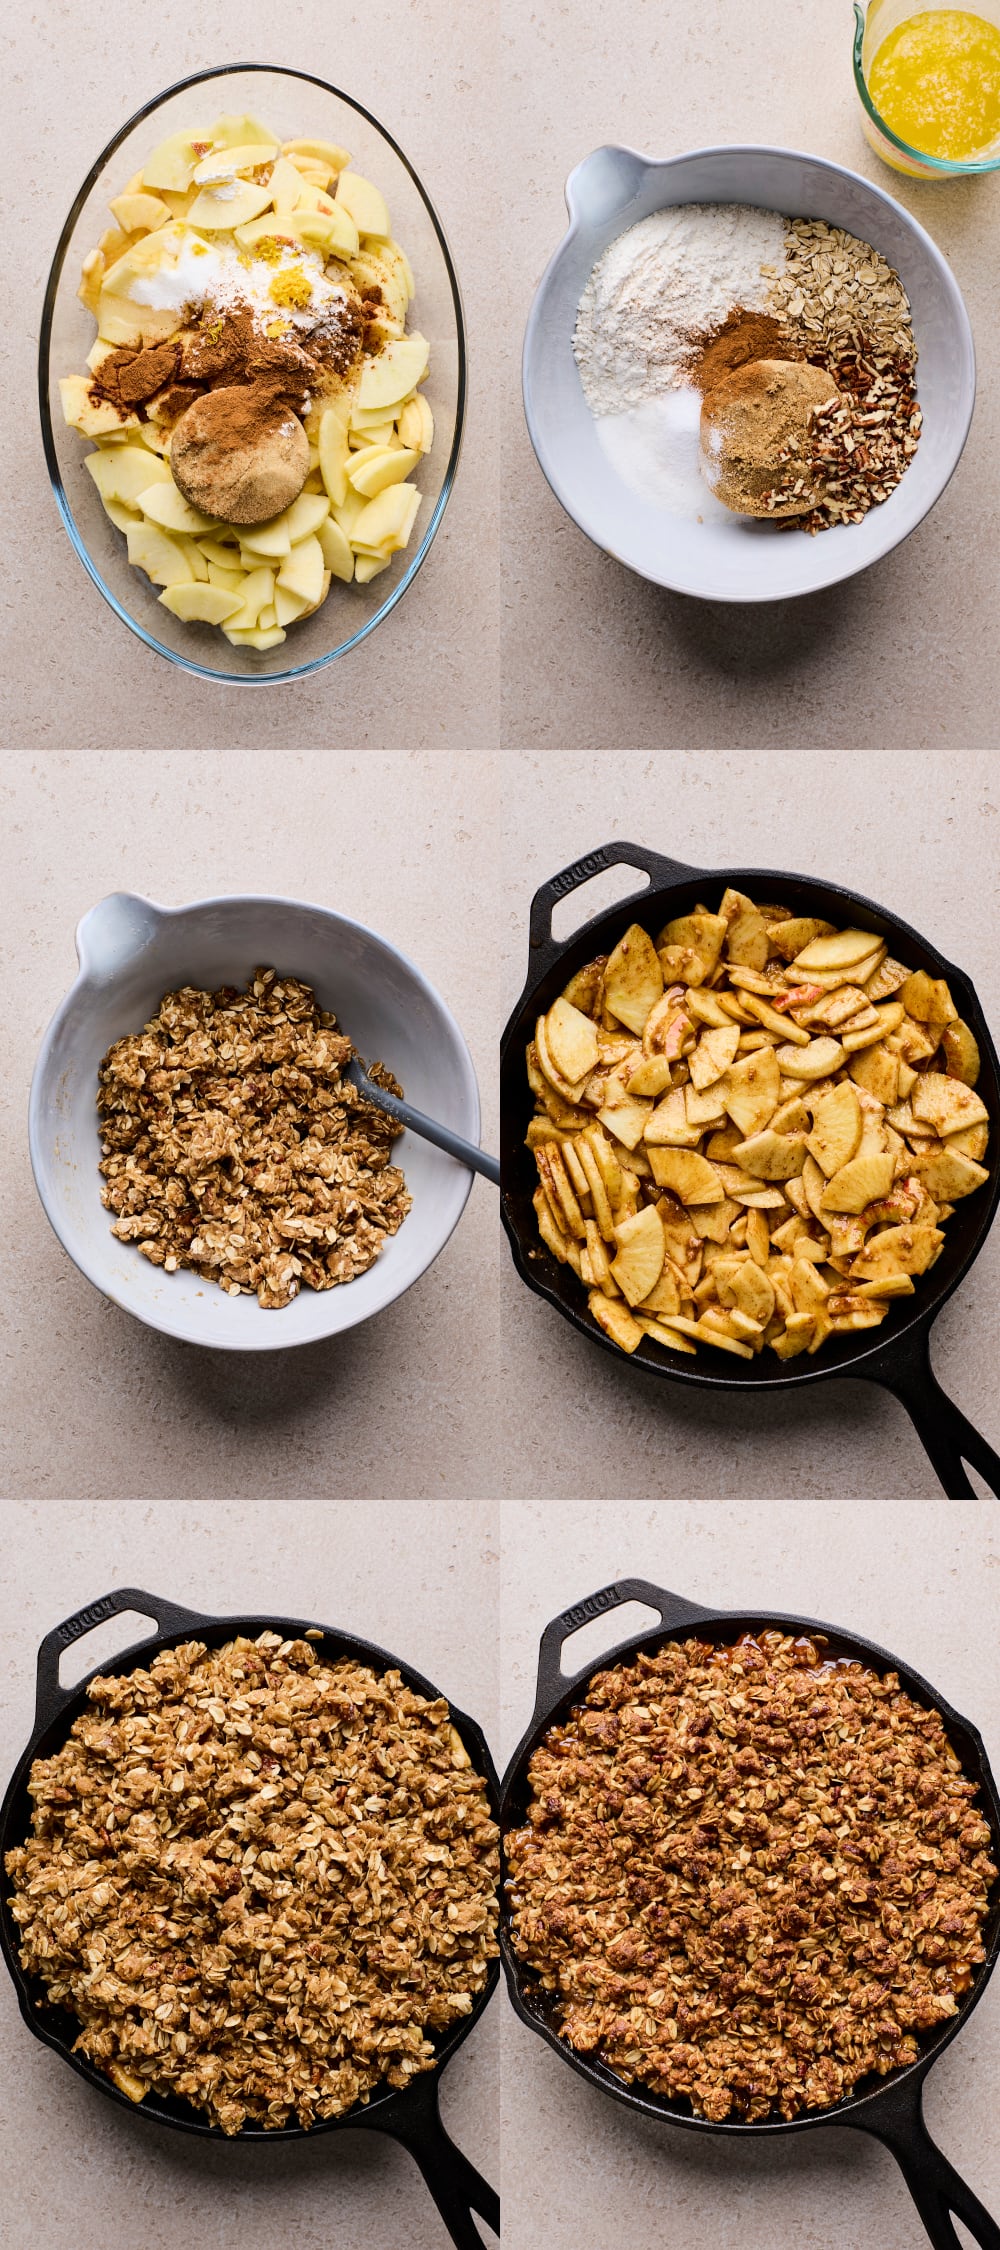
- Prepare Fruit: Peel and core the apples then slice or chop them - make sure to slice or cut into roughly the same size and thickness
- Toss Apples With Sugar, Flour & Aromatics: Add apples to a large bowl (or toss right in the greased skillet) and toss gently with the sugar, flour, vanilla, spices, apple cider vinegar, lemon juice and lemon zest until well combined.
- Prepare Crumble/Crisp Topping: Combine the flour, oats, sugar, pecans, spices, and salt. Stir in the butter until the mixture forms small crumbles mix well until combined - use a fork or spoon to ensure to stir well
- Assemble Crisp: Spread the topping evenly over the filling.
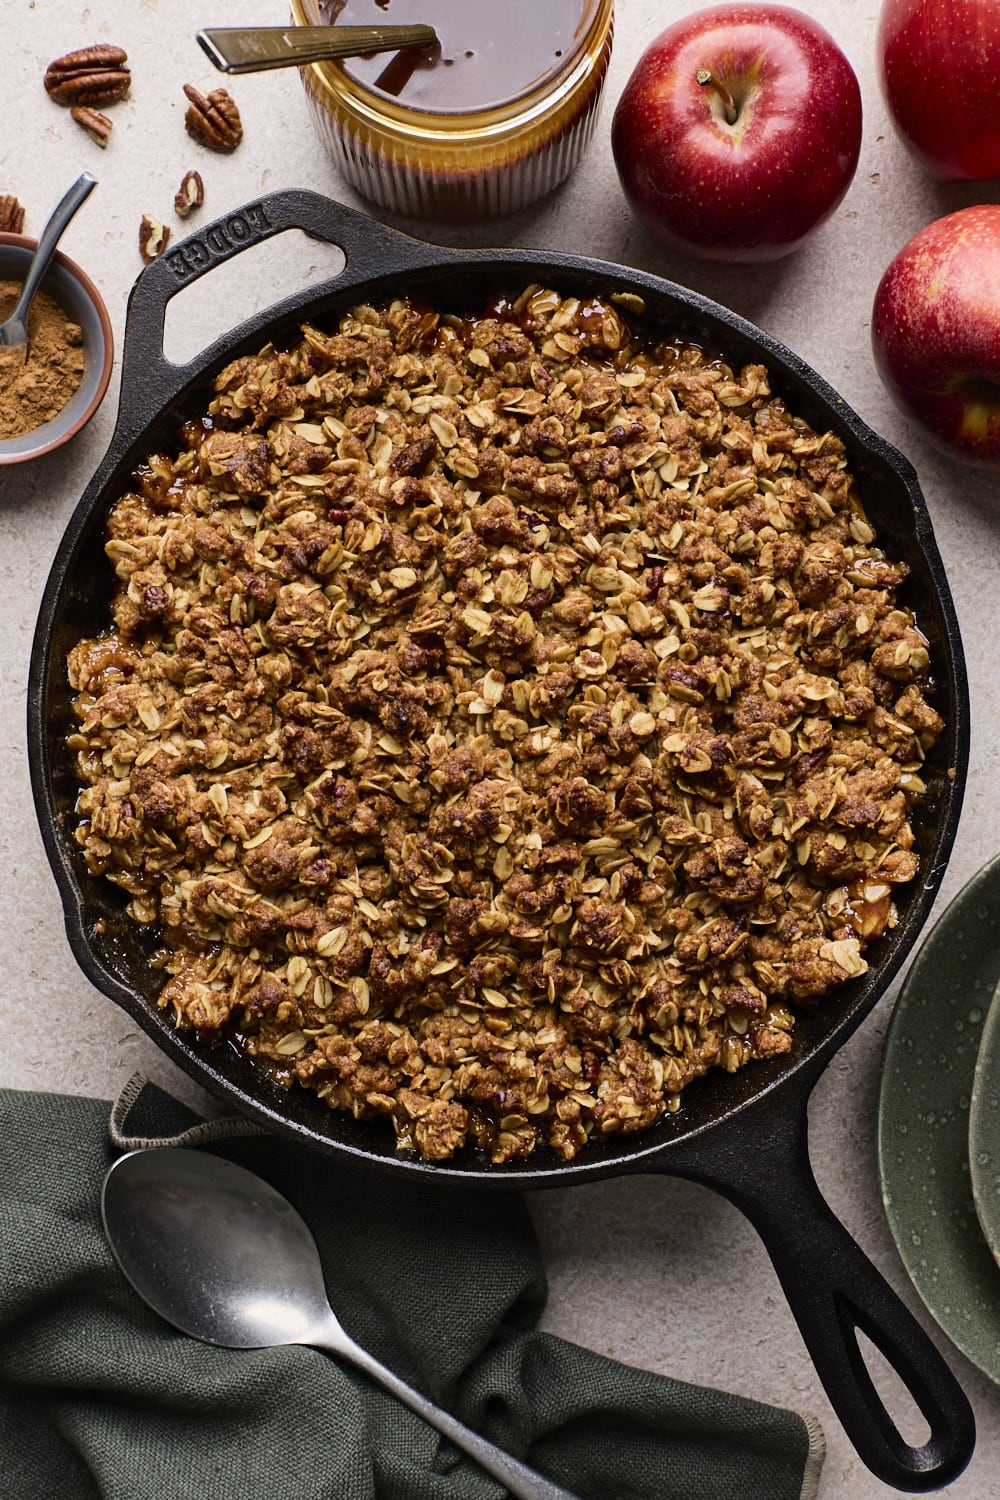
- Bake: Transfer baking dish/ skillet to preheated oven and bake until the filling is bubbling and the topping is golden brown.
Tips For Making a Delicious Crisp
- Don’t overwork the streusel topping - the rougher and lumpier it is the better, there really is nothing better than a bite full of buttery crispy crumble/crisp.
- Grease the dish/skillet beforehand - this will stop the crumble sticking to the edges.
- Always preheat your oven - ensure it comes to temperatures that baking time is roughly the same as stated in the recipe directions
- When choosing a dish for your crumble don’t go too deep - a large shallow baking dish works best for crumbles and allows the fruit to cook evenly and more quickly. The deeper the dish the larger the stack of fruit and the longer it will take for the fruit to cook. We love how this apple crisp bakes up in a 10 inch skillet
- Always slice or chop the apples in uniform size - so they bake up or cook up evenly
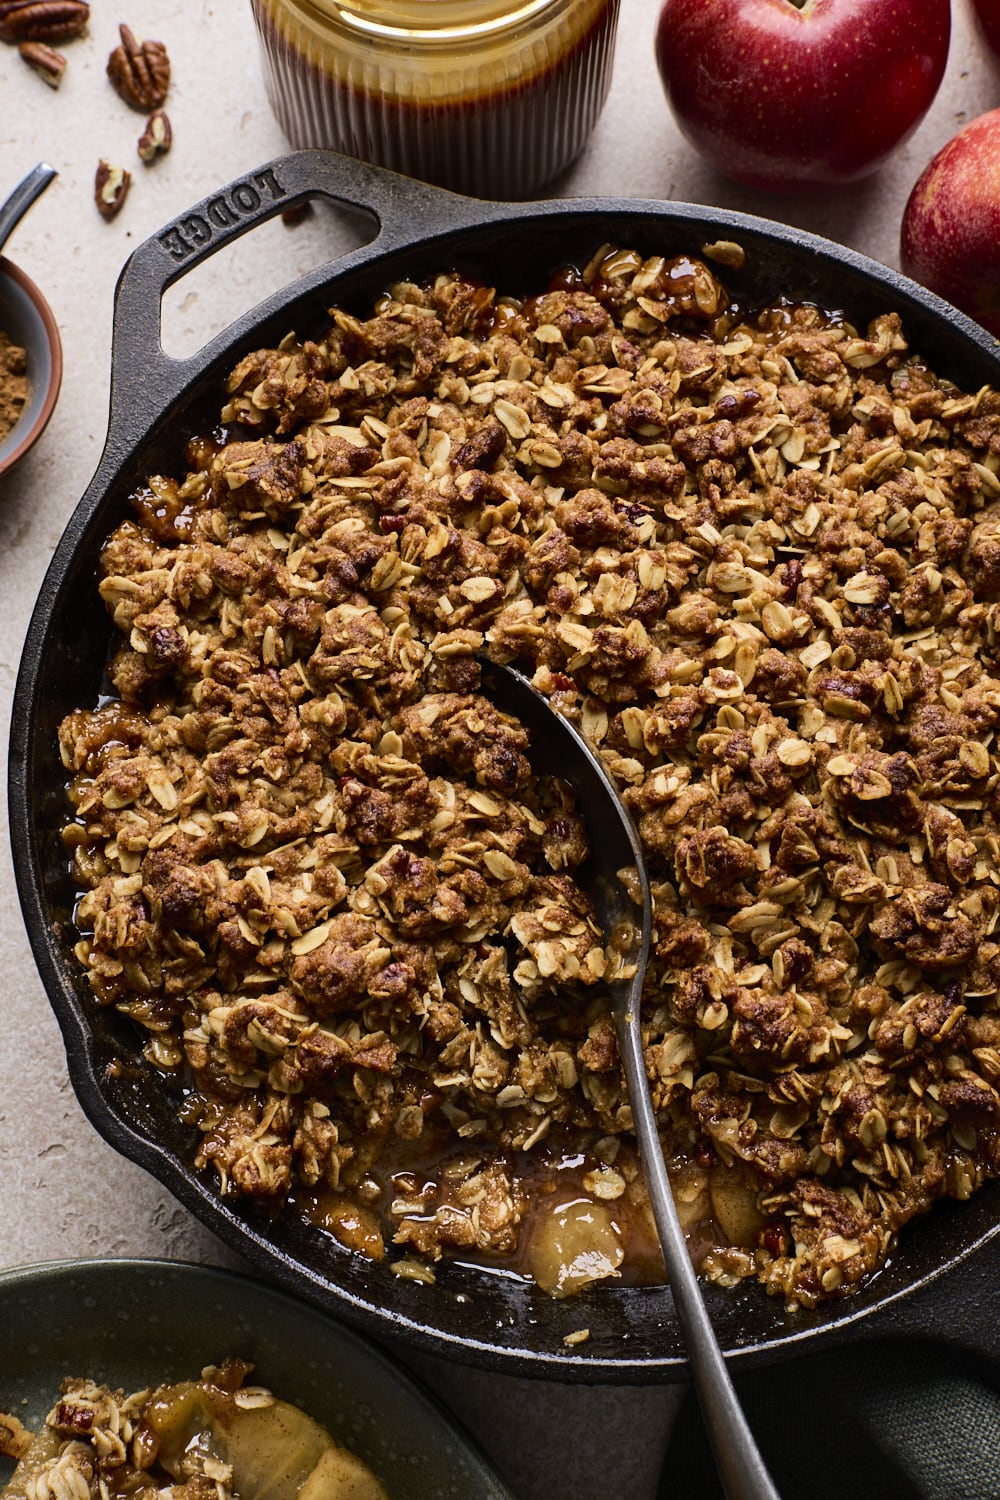
- Cool the crumble - Let the crumble cool for at least 10-15 minutes before serving. If transporting to a picnic or party, let the crumble cool completely to give the fruit filling time to set.
Can you make this ahead of time?
You absolutely can! The best part about a crisps or crumbles is that you can assemble them ahead of time and just pop them in your fridge. Then when you sit down to dinner, pop it in the oven and bake.
Make Ahead, Storage & Freezing
- MAKE AHEAD: The entire crumble can be made and baked ahead and frozen after its cooled and wrapped with plastic wrap and foil. Or it can refrigerated for at least 3-5 days. To get a head start on making this a day or more before you plan to serve it, you can make the crumble topping and store it in the fridge in an airtight container up to 2-3 days ahead of time. Because you are cooking the apples it it’s fine to prep the filling a day in advance and keep it in a sealed container bag in the fridge.
- STORAGE: The crumble can technically keep at room temperature for 1-2 days but I prefer to store leftovers in the fridge well wrapped and it will keep longer in fridge - up to 4-5 days. It can be eaten cold or reheat in the microwave or better yet in the oven or air fryer for a few minutes at 325°F. Do not store crisp in cast iron skillet. Moisture in the food breaks down the protective seasoning and causes the iron to rust. Always transfer leftover food to a glass or plastic container before putting it in the fridge
- FREEZING: The crumble can be frozen once cooked and cooled and then reheated in the oven from frozen. The whole cooked and cooled crumble can be frozen and last for 3-4 months in the freezer if stored correctly. It should be wrapped tight with a layer of plastic wrap and aluminum foil. Thaw it in the refrigerator overnight. Once thawed, you can bake/reheat the apple crumble as directed recipe
More Recipes You Will Love:
Recipe
Ingredients
For the Topping
- 2 cups old-fashioned rolled oats
- 1¼ cups all-purpose flour
- 1 cup brown sugar
- ¼ cup granulated sugar
- ½ cup chopped pecans
- 2 teaspoons ground cinnamon
- ½ teaspoon salt
- 1 cup unsalted butter, melted
For the Filling
- 5 large apples of choice sliced into ¼” thick slices (and peeled if desired); I used a mixture of Granny Smith and SweeTango apples
- ½ cup brown sugar
- ¼ cup granulated sugar
- ¼ cup all-purpose flour
- 1 teaspoon apple pie spice
- 1 teaspoon ground cinnamon
- 1 teaspoon vanilla extract
- 2 tablespoons apple cider
- 1 teaspoon lemon zest
- 1 tablespoon Lemon juice
For Serving (optional)
- Caramel Sauce (store-bought or homemade)
- Ice Cream
Directions
- Preheat the oven to 350°F. Grease a 10” cast iron or oven-safe skillet with butter. Set aside.
Prepare Crisp topping
- In a large bowl, combine the old-fashioned oats, flour, sugars, chopped pecans, spices and salt.
- Pour in the melted butter, and mix with a fork until fully combined and the mixture resembles a clumpy/crumbly texture. Set aside while you prepare the filling.
Prepare Filling
- Toss together all filling ingredients: apples, sugars, flour, spices, lemon juice, lemon zest, apple cider vinegar and vanilla in the greased skillet. (if you think it’s less messy to do this in a large mixing bowl to ensure everything gets mixed well - you can do so then scrape it all into the greased skillet)
Assemble, Bake, & Serve
- Sprinkle the topping evenly over top the apple mixture/filling.
- Transfer skillet to preheated oven and bake at 350F for 60-65 minutes or until the filling is bubbling and thickened, and the crisp topping is a deep golden brown. (Tip: check crisp after 30-45 mins and loosely tent top with foil if its starting to brown too quickly)
- Remove the crisp from the oven and let rest for 10-15 minutes.
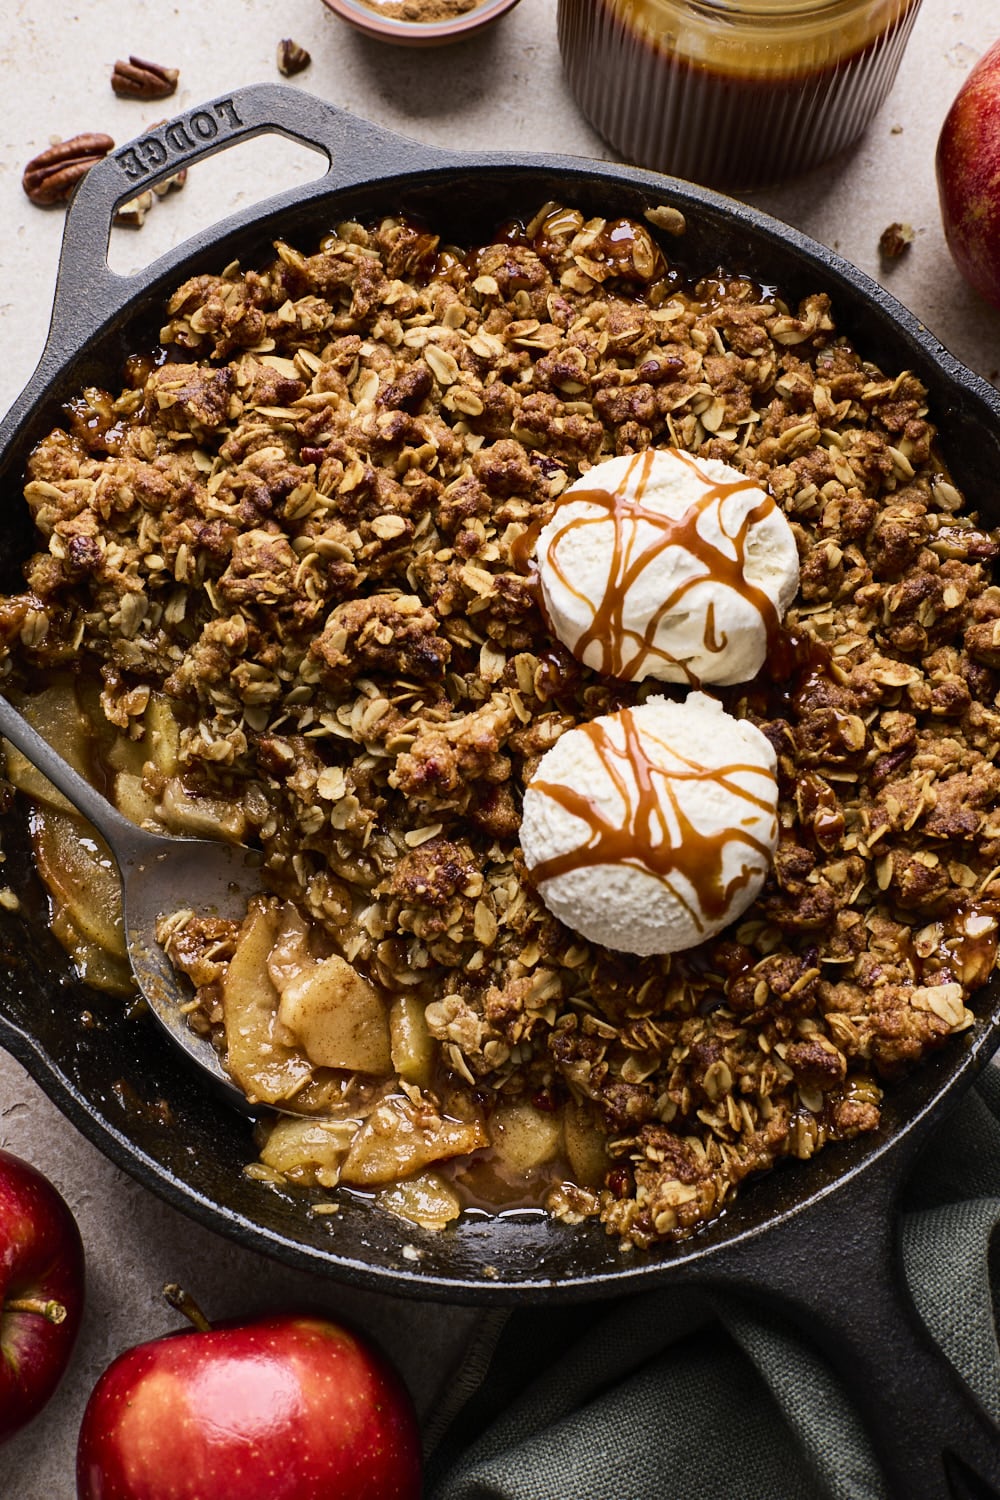
- Serve warm with a scoop of vanilla ice cream, a drizzle if caramel sauce and a pinch of flaky sea salt, if desired.
Recipe Notes
- The apples will bubble and don’t always overflow but to be on the safe side feel free to bake over a sheet of foil or large baking sheet to help with any mess or dripping.
- Do not store crisp in cast iron skillet. Moisture in the food breaks down the protective seasoning and causes the iron to rust. Always transfer leftover food to a glass or plastic container before putting it in the fridge
- If you do not have a 10 inch cast iron skillet you can use a deeper 9-inch round cake pan or pie plate or an 8-inch square prepared baking dish as a direct substitute for a 10-inch skillet.